

March 11, 2019
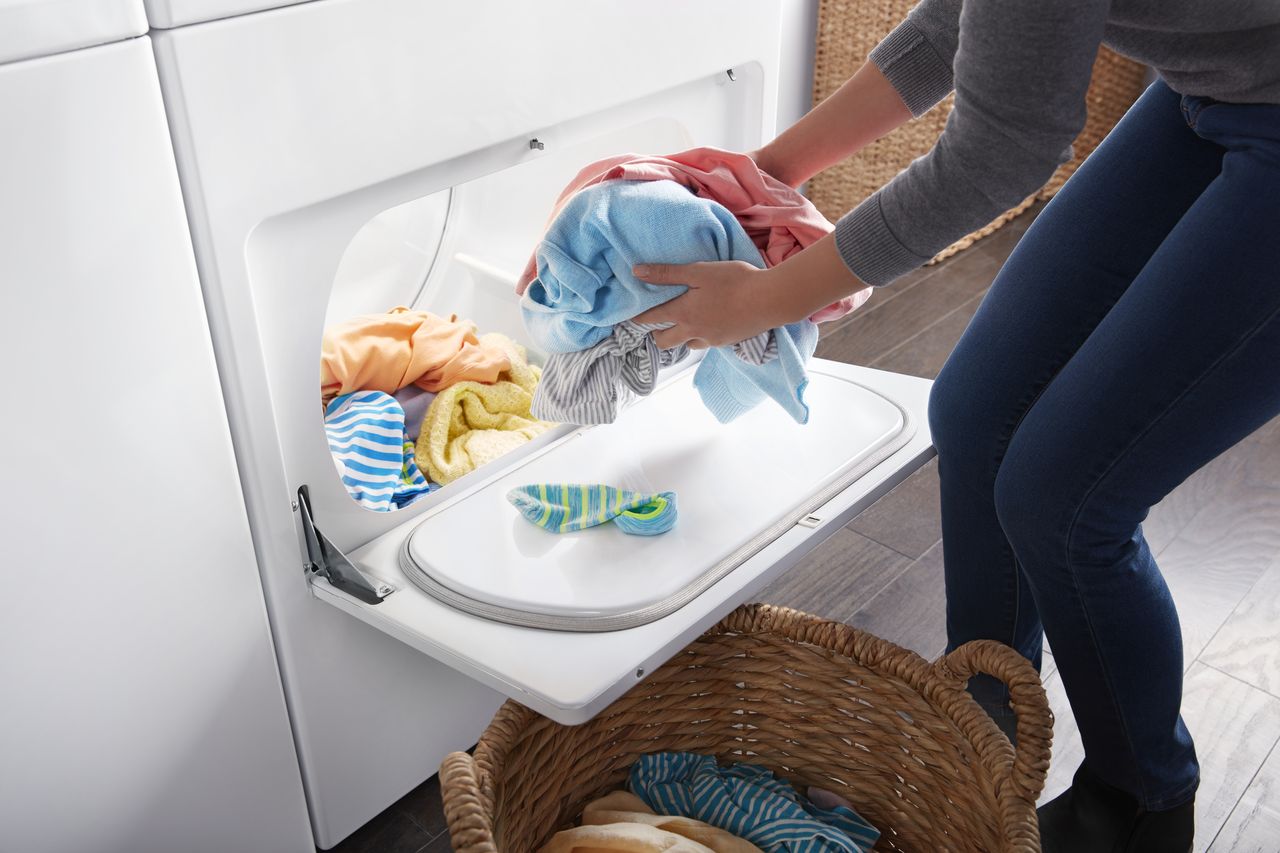
Dryer Repair
Thermal Fuse
The thermal fuse is a common component that will fail for a dryer. This component will be discussed in greater detail further down.
Start Switch
If the start switch takes a nose dive, the dryer won’t begin its cycle at all. This switch is located in the control panel. Set your multimeter to Ohms and test for continuity. Replace if the test fails.
Door Switch
The door switch is found near the door and activates with the door closed. If this switch malfunctions the dryer will not dry your clothes. Door switches make a clicking sound when activated and operating properly. If you cannot hear a click when you close the dryer door, test for continuity. Replace if the test fails.
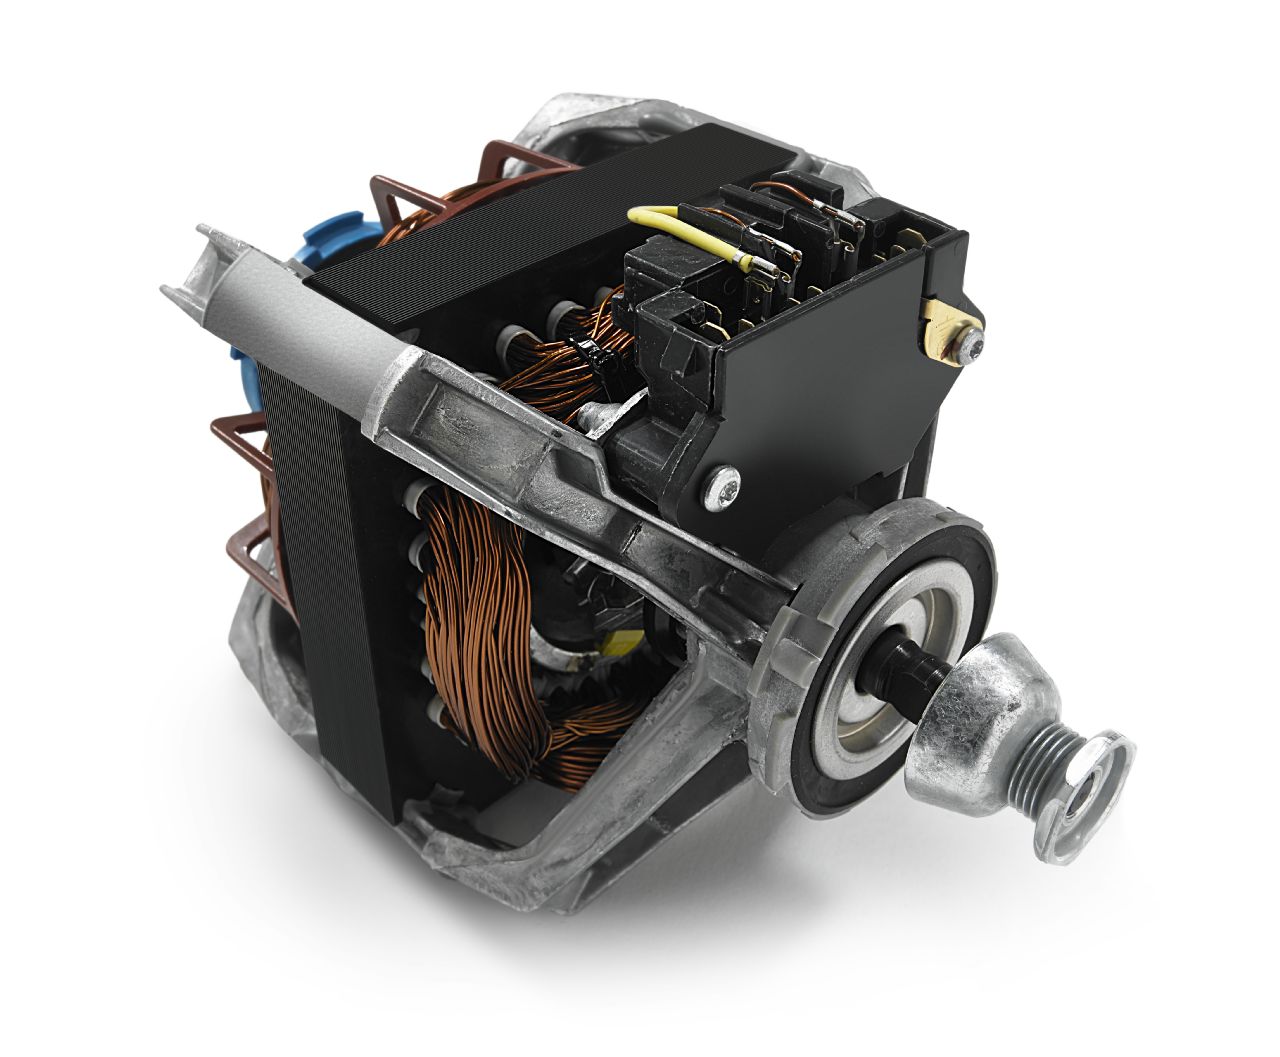
Drive Motor
The drive motor spins the drum and blower wheel. If the motor fails, the dryer won’t start, however, first determine the functionality of the thermal fuse, start switch, and door switch. Any or all three of those components will probably fail long before the drive motor fails.
Drive Belt
If the drive belt is broken, the drum will not turn. Most dryers will not run at all because as a safety feature, the pulley shuts off the power to the entire dryer
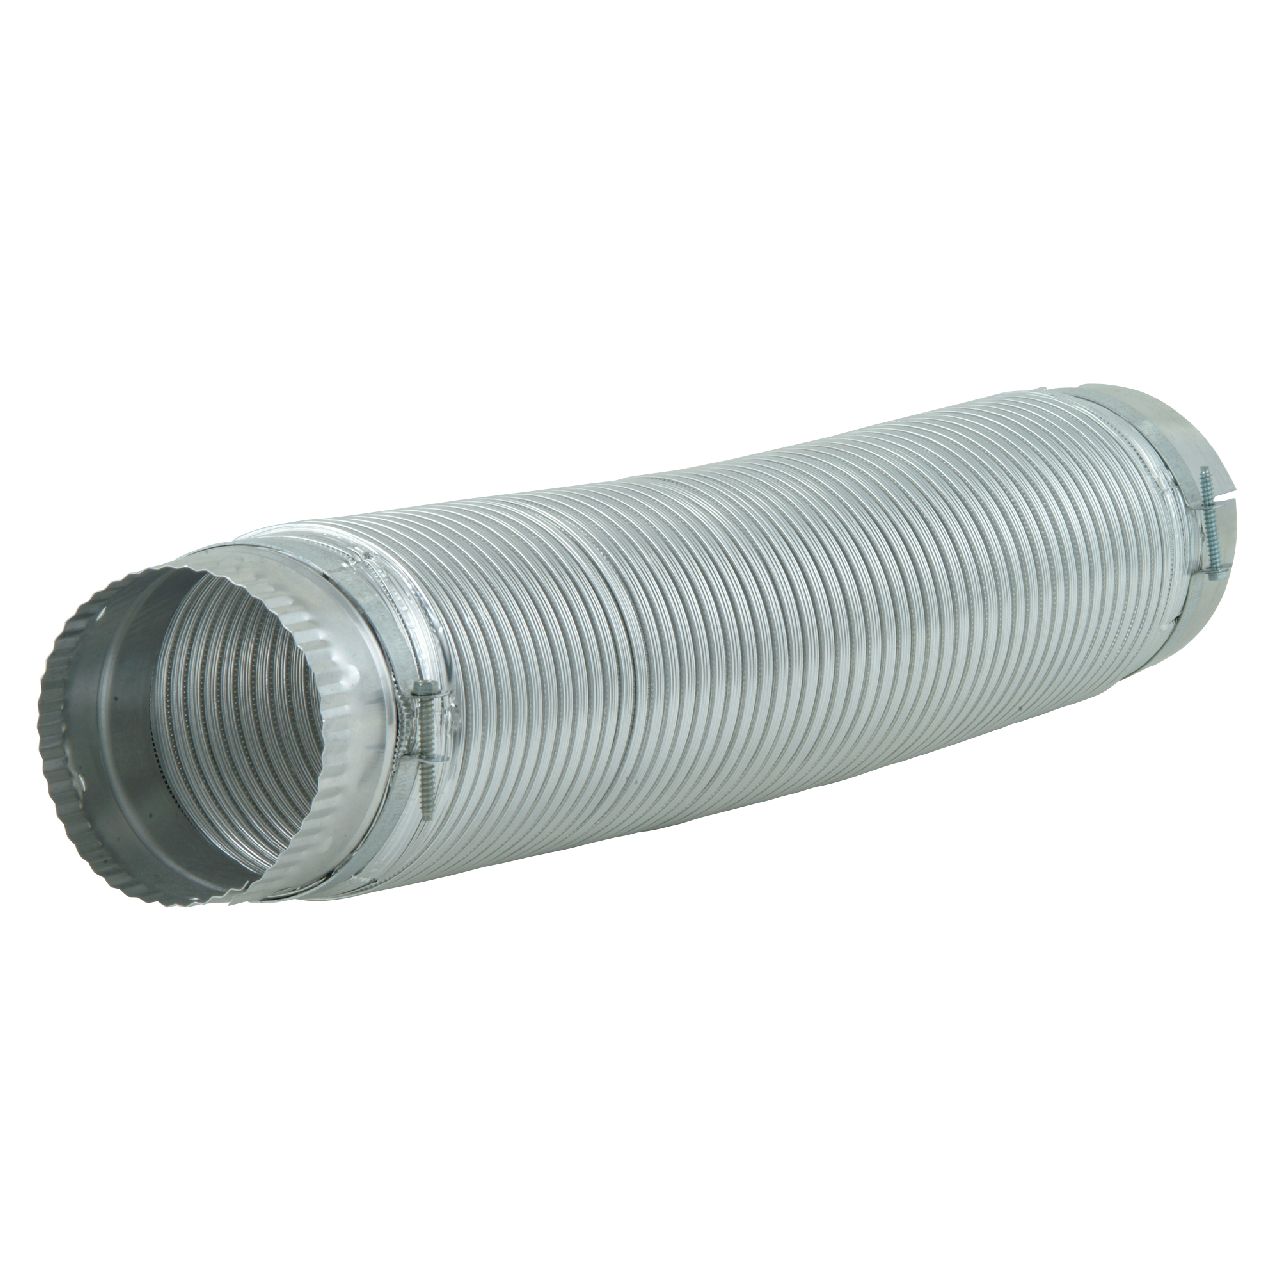
After troubleshooting a dryer that won’t start or heat, you determine that the motor and switches are functioning as they should. So you perform a few continuity tests and discover the thermal fuse is blown. This fuse is the most common reason your dryer won’t start or heat. The fuse will usually overheat and fail due to poor ventilation for the dryer. Check your use and care guide for specifics on what your dryer requires when it comes to ventilation.
How to Replace the Thermal Fuse
- To prevent an electric shock, unplug the dryer.
- Remove the control panel by either sliding a putty knife under the panel to release its two clips. Or remove the two plastic end caps to locate and remove two screws.
- Rotate the panel toward the rear of the dryer.
- Find and remove the two screws that secure the main top in place.
- Slide the top off and set aside.
- Insert a flat head screwdriver between the upper and lower front panels to release two clips.
- Remove the lower panel and set aside.
- Remove two door springs.
- Remove the two mounting screws from the bottom of the top panel.
- Remove the lint screen duct screws.
- Detach the moisture sensor wire.
- Disconnect the door switch wire connector.
- Remove the screws from the top of the upper panel and lift the panel from the dryer frame and set aside.
- Depress the tension pulley to release the belt. Unthread the belt from the pulley motor shaft.
- Use the belt to lift the drum out from the dryer cabinet.
- Disconnect the wires from the old thermal fuse.
- Remove the mounting screw and remove the fuse.
How to Install the Thermal Fuse
- Slide the new fuse into its slot and secure with its mounting screw.
- Reconnect the fuse wires.
- Replace the drum by lining up the rim with its two rear rollers.
- Loop the belt around the tension pulley and motor shaft in a zig-zag pattern.
- Rotate the drum to line up the belt.
- Replace the upper front panel by lining up the rollers on the drum rim and position the panel on the upper cabinet brackets.
- Secure the panel with its four panel screws.
- Replace the lint screen duct screws.
- Reconnect the moisture sensor wire and replace the door springs.
- Replace the lower front panel. It should snap into position.
- Reconnect door switch wire connector located at the top of the dryer.
- Slide the main top in place and secure it with its screws.
- Rotate the control panel back and lock in place.
- Replace screws and end caps.
- Plug the dryer back and test it to see if it is working properly.
Do you need a part? Or maybe you don’t have time for do-it-yourself projects and need the assistance of a professional appliance repair company. We’re here to help you in either case.
Mar. 09, 2020
How to Replace Your HE Front-Loading Washer Door Lock
Feb. 10, 2020
5 Dryer Duct Tips to Improve Your Clothes Dryer Efficiency
Jan. 06, 2020
Fixing a Microwave Turntable That Won’t Turn
Dec. 09, 2019
How to Maintain your Refrigerator Gasket Seal
Nov. 11, 2019
Why Doesn’t My Oven Maintain Temperature?
Oct. 07, 2019
How to Replace the Door Switch of Your Whirlpool Dryer

Sep. 09, 2019
How to Replace Your Freezer-Above-Fridge Door Handle
Aug. 06, 2019
Fixing A Microwave Door That Won’t Close
Jul. 08, 2019
6 Things to Try Before Calling for Dishwasher Repairs
Jun. 08, 2019