

February 10, 2020
Dryer Repair
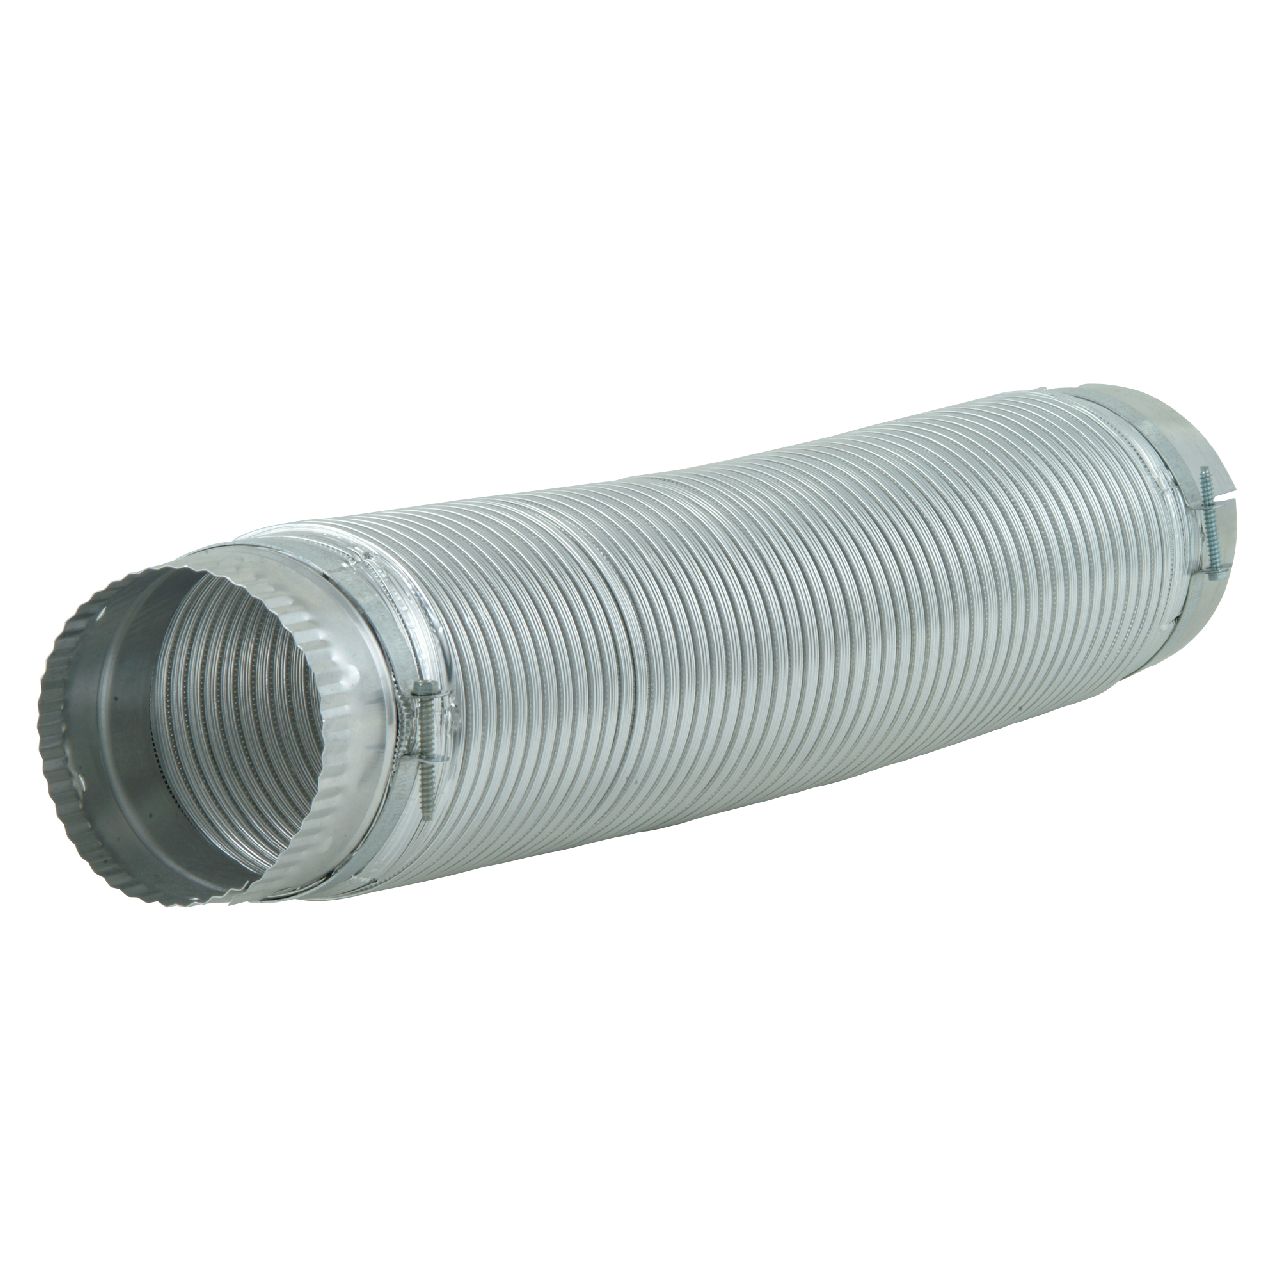
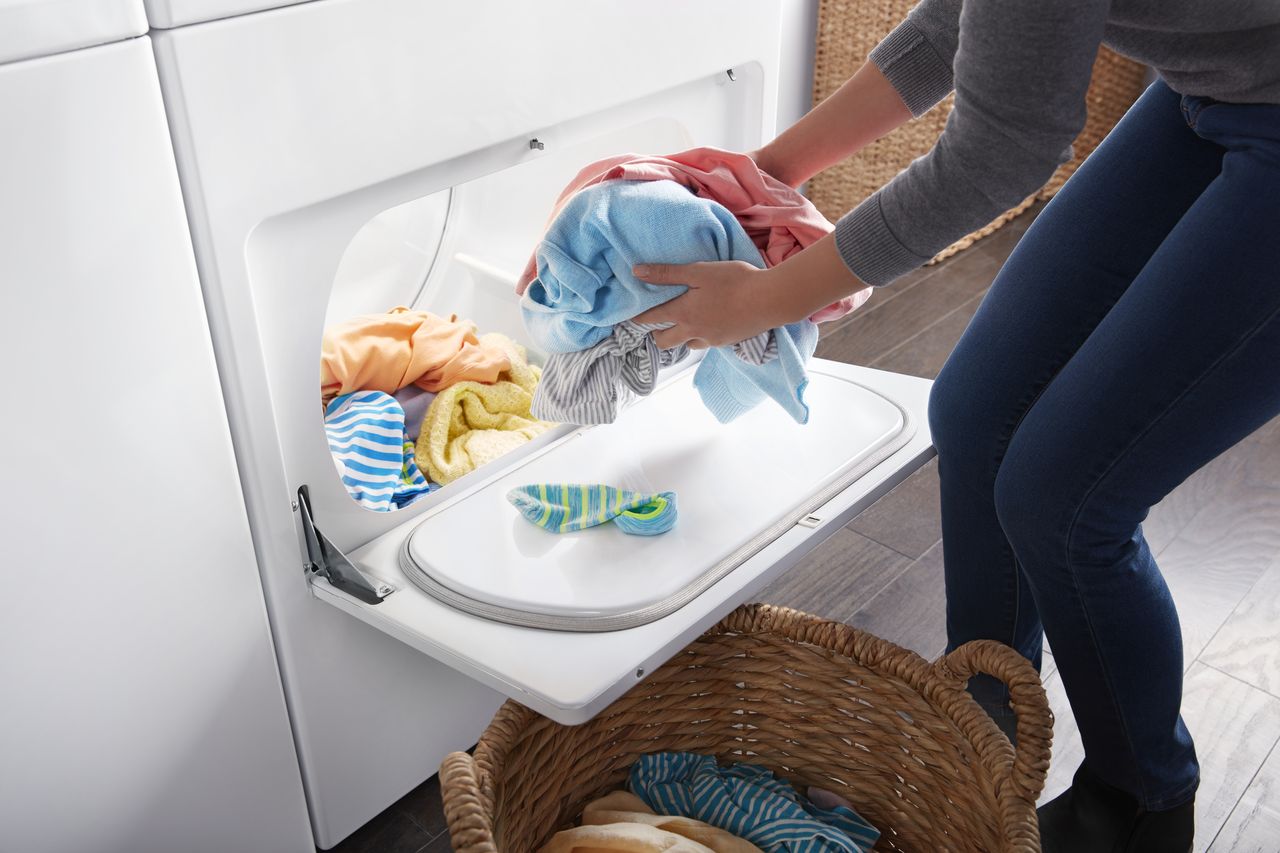
When clothes go into the dryer, they are cool and damp. When they come out, they are dry and warm. You know where the heat comes from, but where does the moisture go? Water has to go somewhere. When the heat and tumbling evaporate water in wet clothes, it is channeled out through the dryer’s duct.
The duct is the crinkly silver tube that extends from the back of your dryer into the wall and it is a vital part of the drying process. If your clothes aren’t getting dry enough, there’s a good chance that the problem is your dryer duct. Even if you just want to speed up your drying process, these tricks can help to improve your clothes dryer efficiency.
1) Straighten the Dryer Duct
The first thing to try is simply straightening out your dryer ducts. Dryer ducts are often crumpled or twisted when the dryer is pushed back toward the wall. However, to be most effective, the dryer duct will need to be open and not too twisted. A shorter duct can be kept straight easier, but a longer duct allows the dryer to be moved around without disconnecting. Long ducts can be pulled up or to the side to keep the length open and clear for moisture to travel through. This is the method for pushing your dryer back the furthest without crumpling the duct.
2) Clean the Dryer Duct
The dryer duct is supposed to only channel moist air, but a little moist lint usually comes along for the ride. This is perfectly harmless in small doses, but lint over time can really build up as you already know. Just as you need to regularly clean your dryer lint trap, it’s important to occasionally clear the dryer duct of lint. The dryer duct apertures can absolutely get clogged up with lint, especially at bends and sharp turns. If your clothes aren’t drying fast enough or you can see that the vent is bunched or bent dangerously, any slow-down could be lint-related. Simply detach the side of the duct closest to the dryer and scoop or shake out any lint that has built up. If you see a lot of lint running through the duct, clear it out from end to end.
3) Make Sure the Duct Leads Outdoors
The next step is to make sure the dryer duct is actually going somewhere useful. Ideally, the duct aperture in your wall leads directly to the outdoors where the moist air can evaporate safely without creating deadly warm humidity indoors. However, not all homes are built smartly and that hole in the wall for the dryer duct might not go anywhere at all. This is not the type of repair that can wait. A dryer that is channeling warm, moist air is also like feeding your pet house fungus.
4) Remove Obstructions from Duct Outflow
When you find the outside vent that dryer air should be coming from, make sure that it isn’t blocked either. Lint can block the dryer-side end but it can also block the wall-outlet end of the channel. Nature can also contribute to blocking your dryer duct outflow. If too many leaves fall over the intake or a fluffy bush blocks its path.
Be sure to clear out everything that hinders the flow of moist air so that your dryer can get rid of that moisture in an efficient manner.
5) Replace a Damaged Dryer Duct
Finally, if you notice that your dryer duct is ripped or badly crumpled, you may need to replace it. This is as easy as buying a new length of duct and attaching either end to the dryer and wall vents where the old duct used to be attached. Replacing your dryer duct is something that happens from time to time, as they are designed to be both flexible and disposable as needed.
—Whether your dryer is drying insufficiently or you are just looking for ways to boost its performance, these dryer duct trips are an expert insight into how a dryer works and how to quickly increase the outflow of moist air from your drying clothes. For more appliance repair and maintenance tips or to schedule a professional dryer repair for more serious performance concerns, contact us today!
Mar. 09, 2020
How to Replace Your HE Front-Loading Washer Door Lock
Feb. 10, 2020
5 Dryer Duct Tips to Improve Your Clothes Dryer Efficiency
Jan. 06, 2020
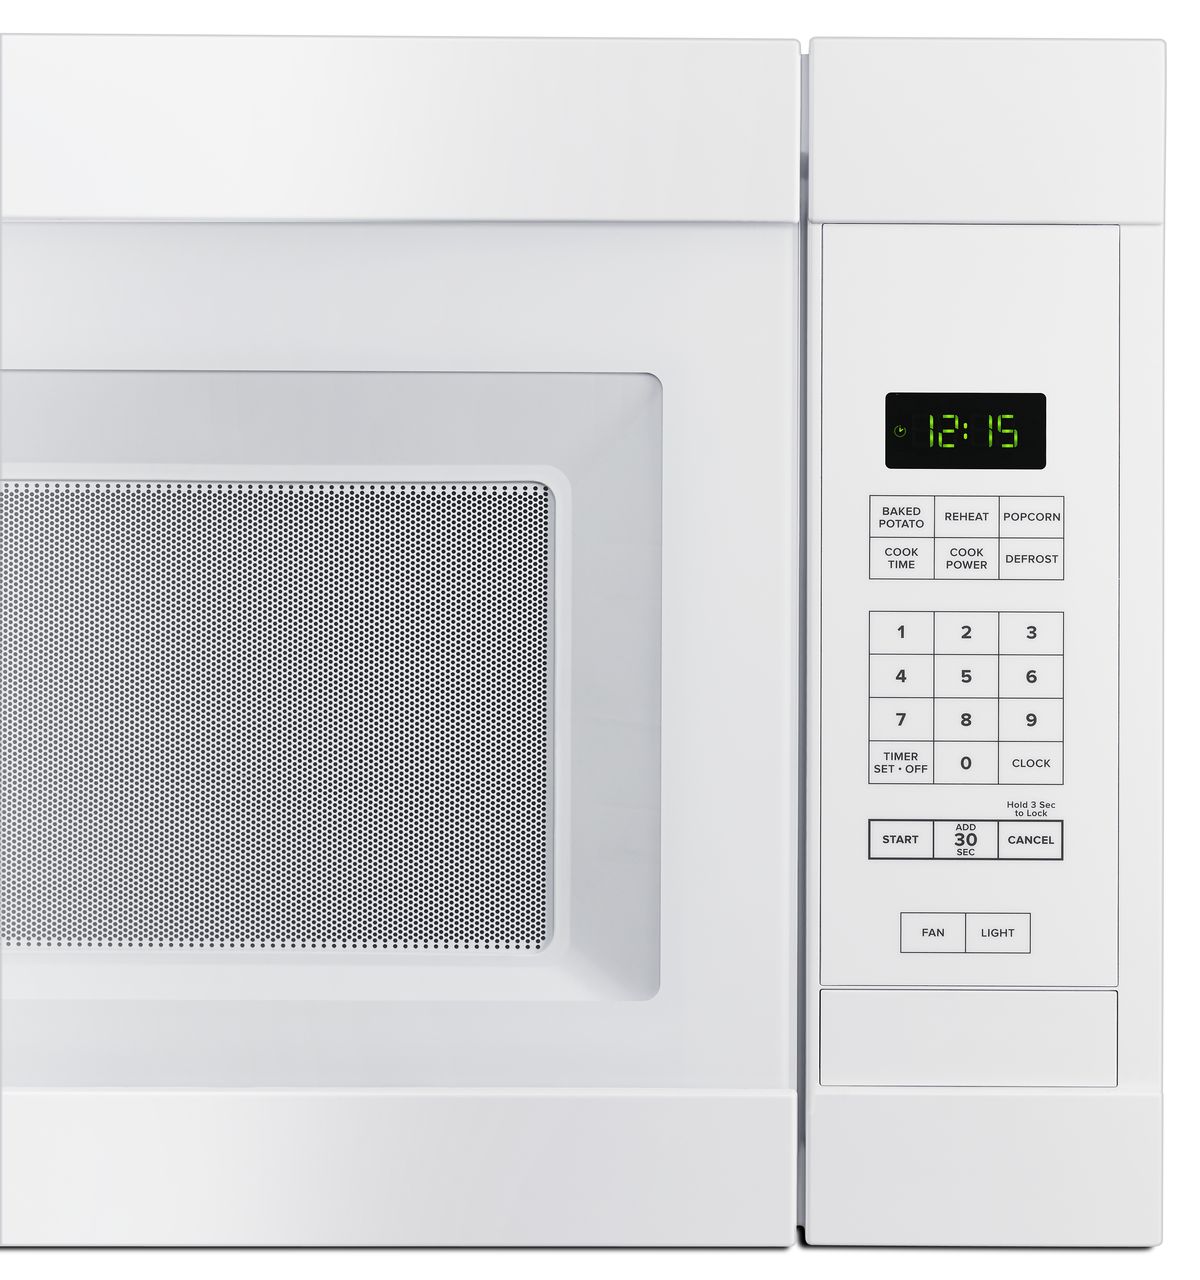
Fixing a Microwave Turntable That Won’t Turn
Dec. 09, 2019
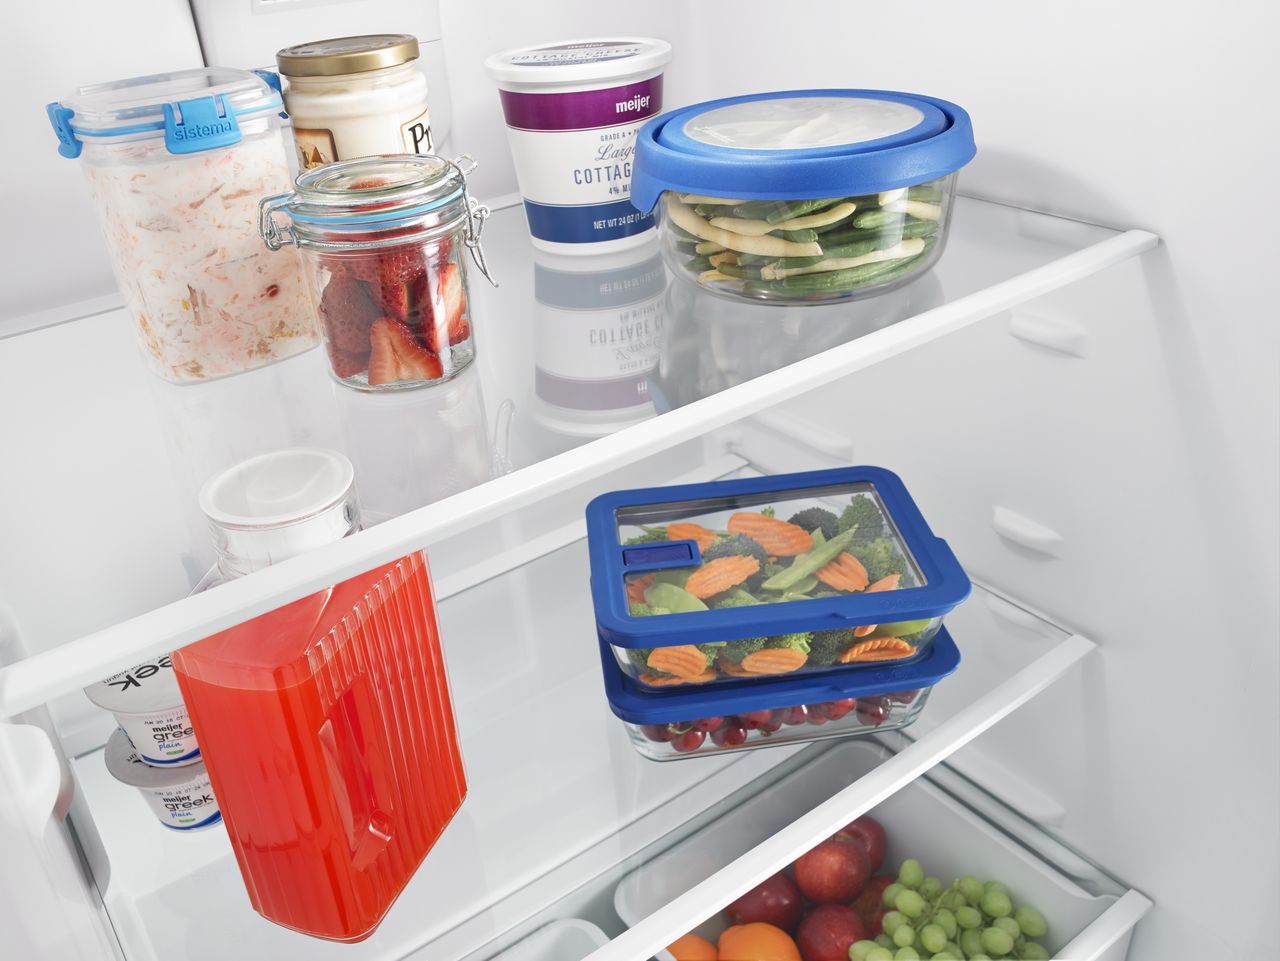
How to Maintain your Refrigerator Gasket Seal
Nov. 11, 2019
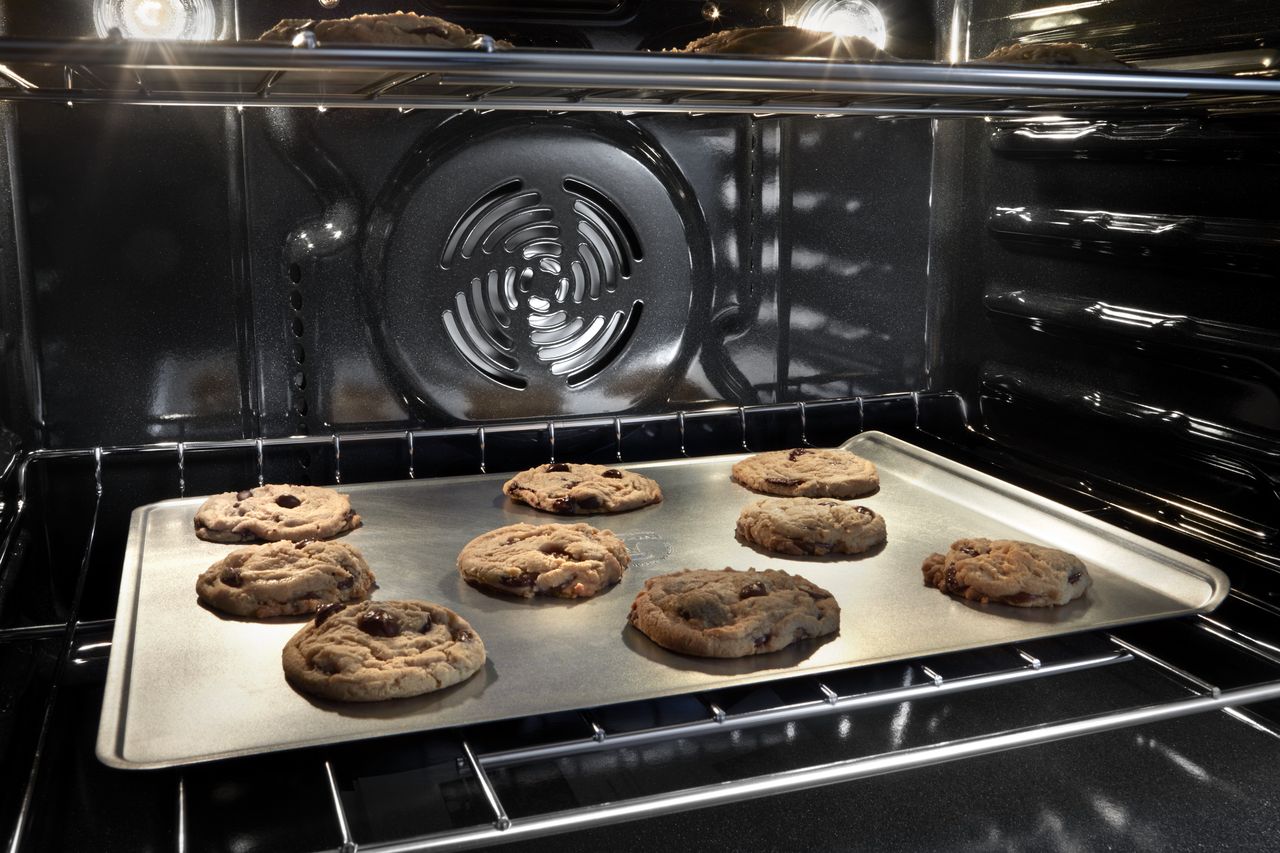
Why Doesn’t My Oven Maintain Temperature?
Oct. 07, 2019
How to Replace the Door Switch of Your Whirlpool Dryer
Sep. 09, 2019
How to Replace Your Freezer-Above-Fridge Door Handle
Aug. 06, 2019
Fixing A Microwave Door That Won’t Close
Jul. 08, 2019
6 Things to Try Before Calling for Dishwasher Repairs
Jun. 08, 2019