

October 7, 2019
Service
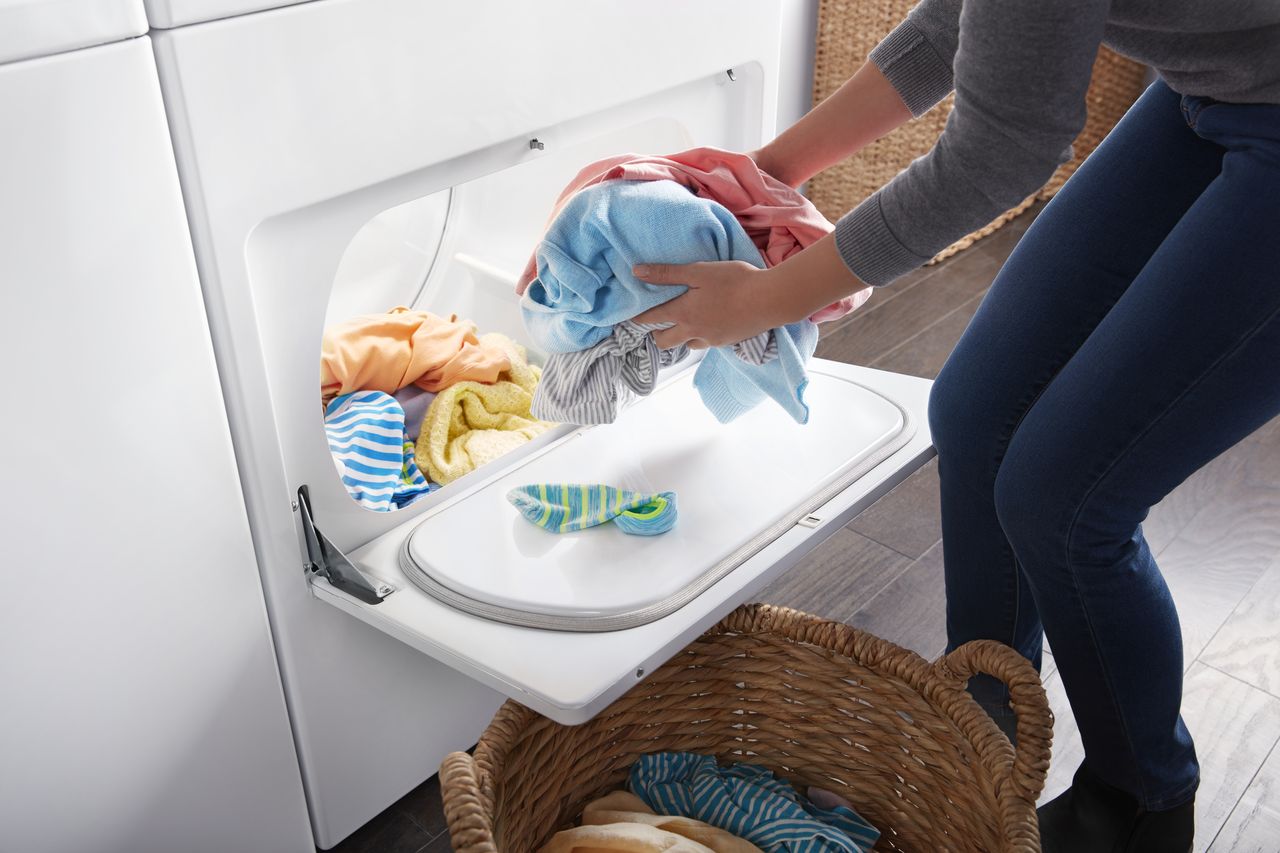
When your dryer won’t start, the first place to check is the door. If there’s nothing blocking the latch, the problem might with your door switch. This is the switch that detects whether your dryer door is fully closed and if it doesn’t trigger, your dryer won’t consider it safe to start tumbling. Fortunately, the dryer switch is a very easy part to replace if you have the know-how.
1. Unplug the Dryer
- Pull Dryer Plug from the Outlet
2. Detach the Lint Housing
- Remove the Lint Trap
- Pull out the lint trap and set it aside.
- Unscrew the Housing Screws
- Remove the two mounting screws that secure the lint trap housing. Set them aside.
3. Open the Dryer Top
- Loosen the Dryer Top
- Slide a strong putty knife under the lip of the dryer lid. Pry upward to loosen.
- You will feel the locking tabs resist.
- Release the Locking Tabs
- Use the putty knife to press and release the locking tabs.
- Pry the lid up with the putty knife when the tabs are free.
- Carefully Lift the Dryer Top
- Use a towel or sturdy gloves to lift the dryer top and lean it against the wall.
- Use a clipping chain if you do not have a wall or brace.
- The underside of the dryer top can be sharp.
4. Remove the Old Door Switch
- Disconnect the Electrical Connector
- Identify the white electrical connector at the front right corner of the dryer
- Press the tab and pull the two halves apart
- Open the Dryer Door
- Pull the dryer door open as far as it will go
- Remove the Mounting Screws
- Identify the switch is in the upper right corner of the door pocket.
- Remove the mounting screws and set them aside.
- Lift Out the Old Door Switch
- Pull the old door switch out through the top and discard it.
5. Install the New Door Switch
- Set the Door Switch Into Place
- Place the new door switch in the same location and position as the switch you just removed.
- Check the door pocket to be certain it’s facing the correct direction.
- Replace the Mounting Screws
- Reattach the mounting screws to fasten the new door switch.
- Connect the Electrical Connector
- At the top, press the two halves of the connectors together.
6. Close Back Up
- Close the Dryer Lid
- Swing down the dryer lid and align the edge around the dryer body.
- Press Firmly Into Place
- Press firmly until you hear the dryer top latch onto the mounting tabs.
- Return the Lint Trap Housing Screws
- Return the lint trap screws you pulled earlier to the lint trap housing.
- Replace the Lint Trap
- Return the lint trap filter to the housing and set it into place.
- Plug the Dryer In
- Reach around your dryer and secure the large plug back into the dryer outlet.
7. Test Your Dryer
- Close the Door
- Firmly close the door of your dryer, watching the door switch as you do so.
- Make sure the door switch works and depresses correctly.
- Try a Low Test Setting
- Set your dryer on a cool tumble to see if it will respond or start.
- Try opening and closing the door to make the dryer stop and restart.
8. Celebrate Your Victory
Congratulations! If everything went according to plan then you have just replaced a small but essential part of your dryer. The door switch provides important information to the dryer control panel, letting it know when it’s OK to tumble. By replacing this part, your dryer can once again accurately tell whether the door is open or closed.
For more repair guides or helpful local appliance services, contact us today!
Mar. 09, 2020
How to Replace Your HE Front-Loading Washer Door Lock
Feb. 10, 2020
5 Dryer Duct Tips to Improve Your Clothes Dryer Efficiency
Jan. 06, 2020
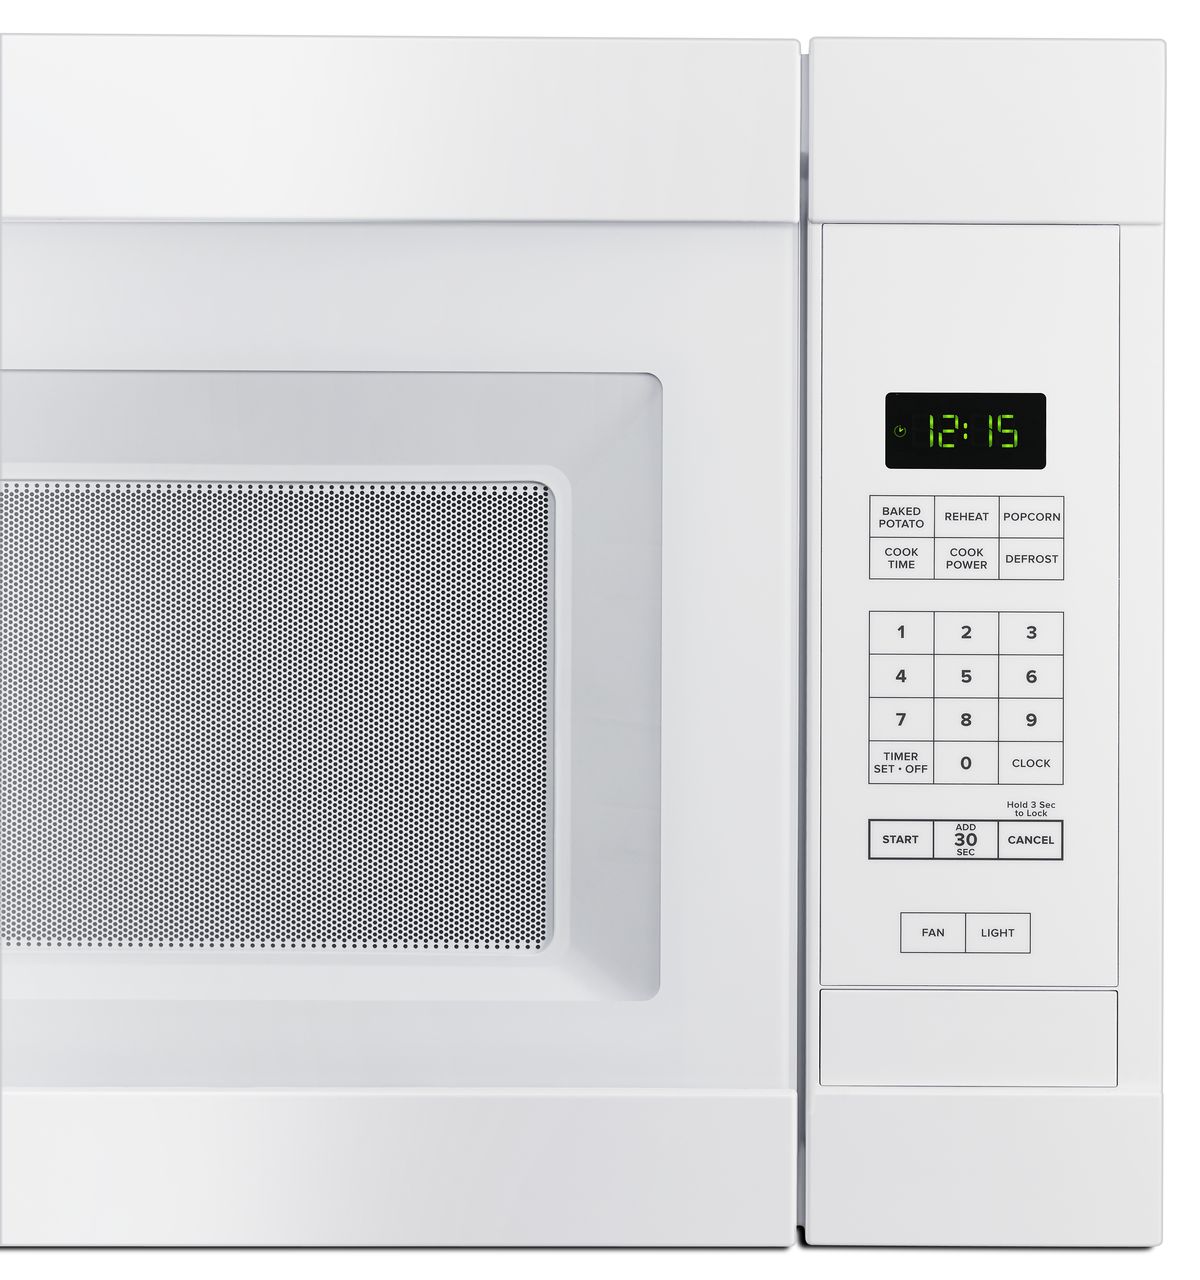
Fixing a Microwave Turntable That Won’t Turn
Dec. 09, 2019
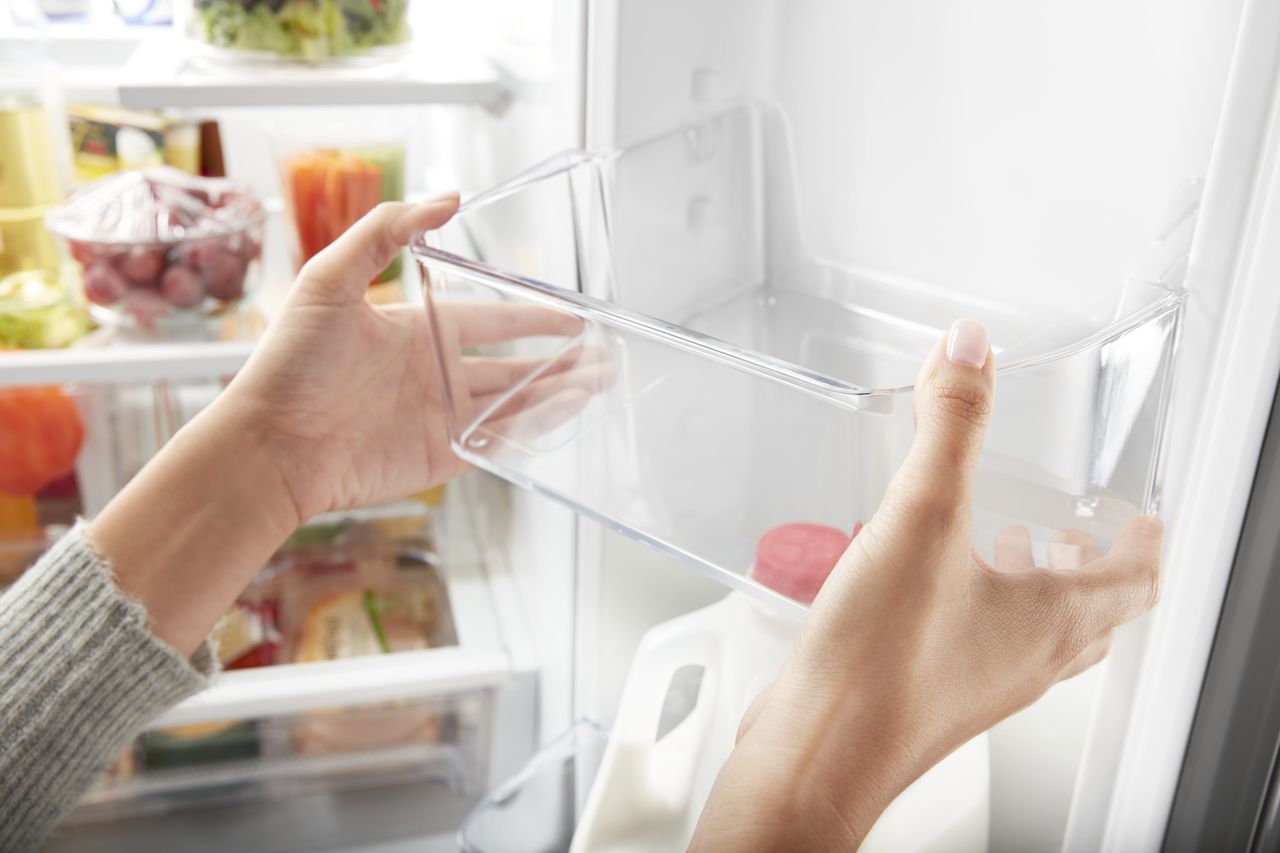
How to Maintain your Refrigerator Gasket Seal
Nov. 11, 2019
Why Doesn’t My Oven Maintain Temperature?
Oct. 07, 2019
How to Replace the Door Switch of Your Whirlpool Dryer
Sep. 09, 2019
How to Replace Your Freezer-Above-Fridge Door Handle
Aug. 06, 2019
Fixing A Microwave Door That Won’t Close
Jul. 08, 2019
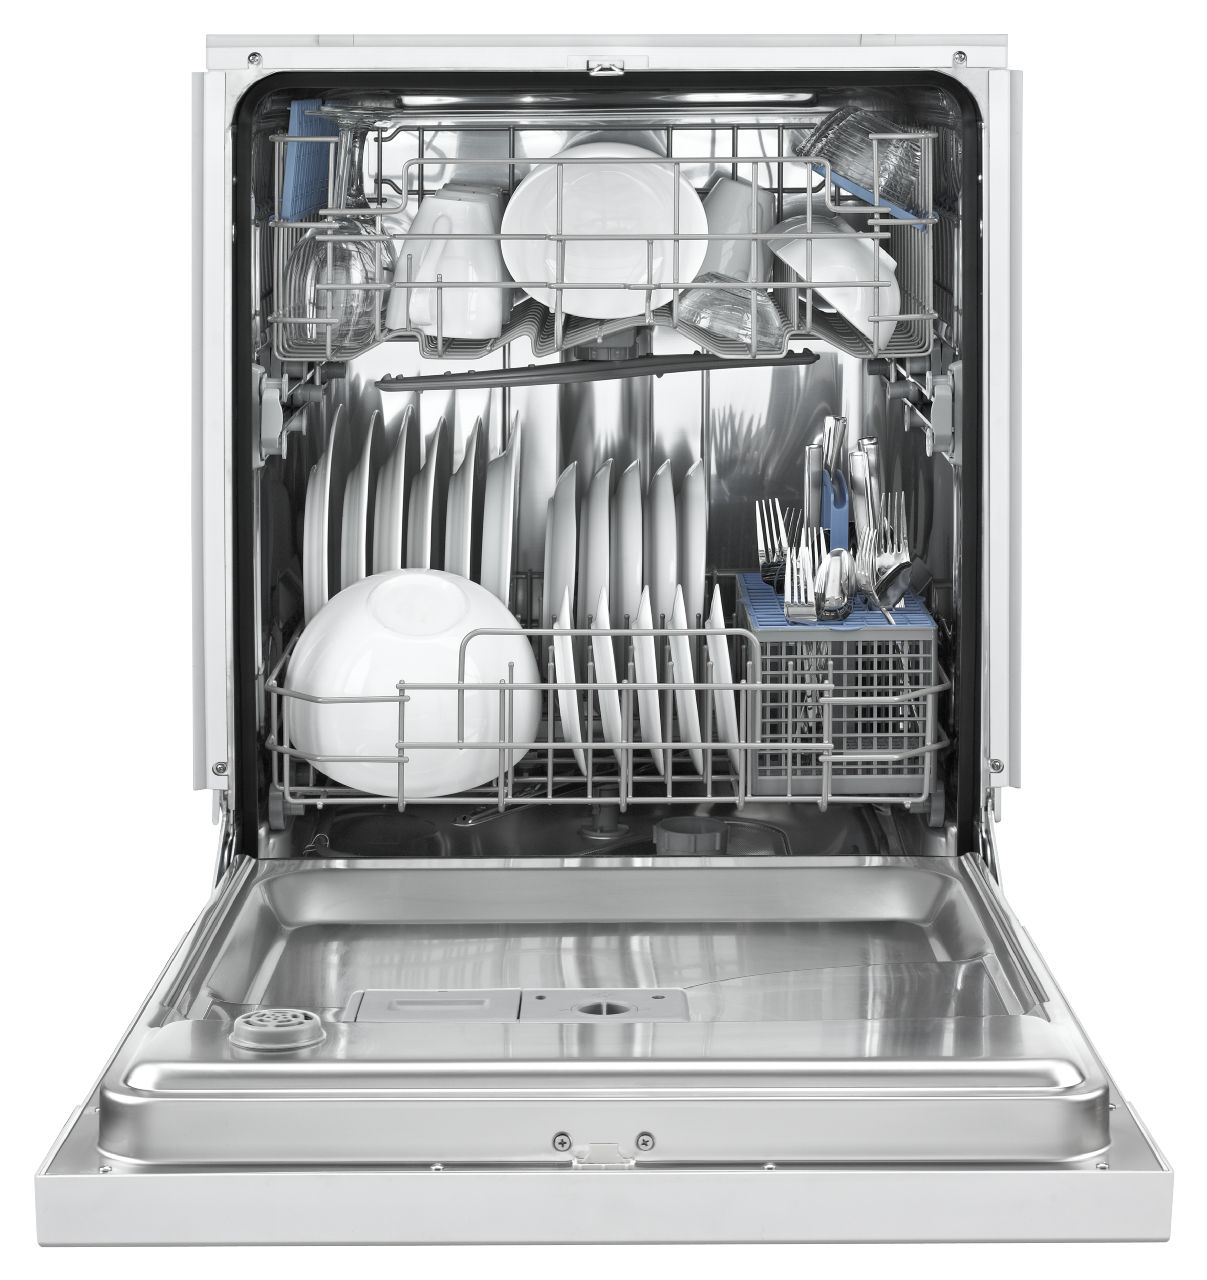
6 Things to Try Before Calling for Dishwasher Repairs
Jun. 08, 2019