

May 6, 2019
Dryer Repair
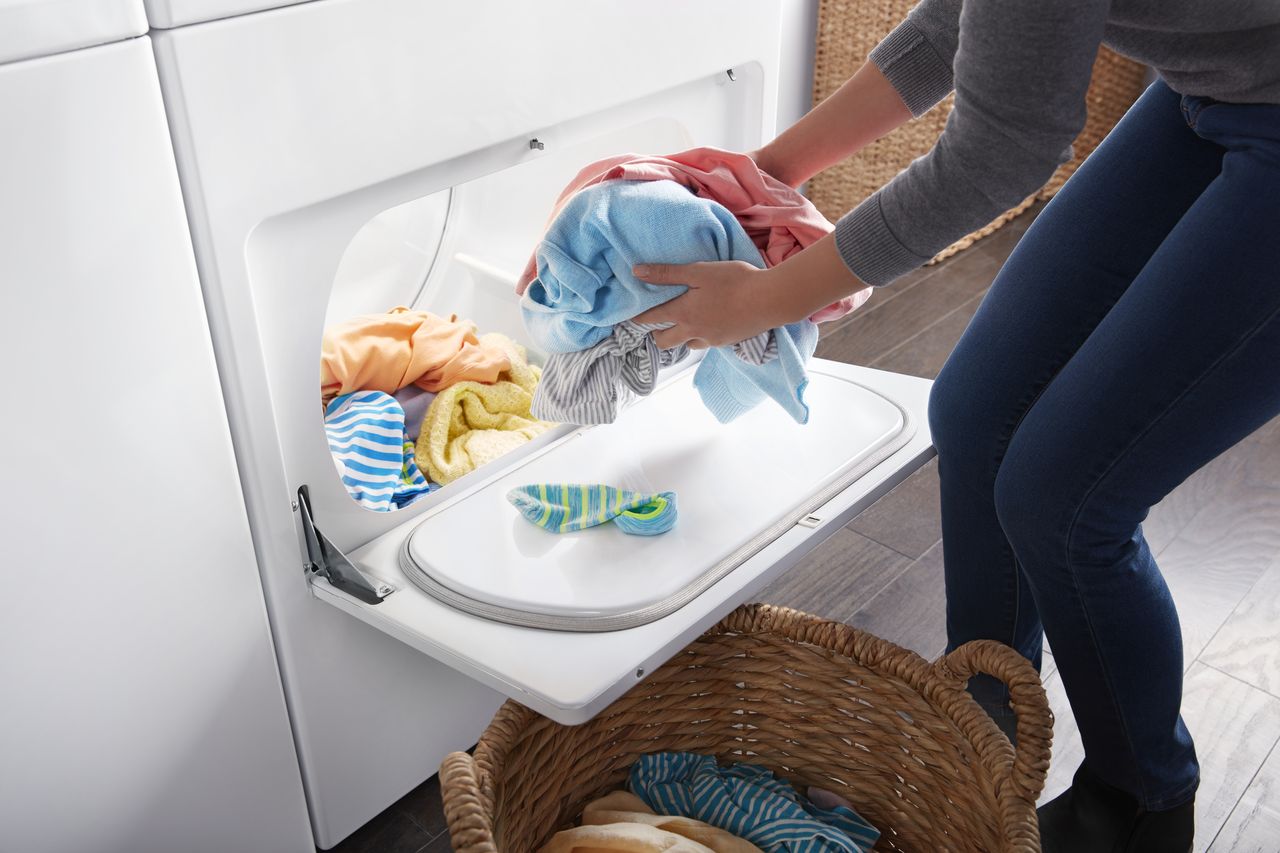
Having a clothes dryer is one of the great luxuries of modern life. Most of us don’t think of it that way because we so often view the ‘basic’ appliances as more of a right than a luxury. But when your dryer suddenly stops working correctly, we’re suddenly reminded about how much of a hassle it would be to hang everything on a clothesline in the backyard.
All too often, dryers that are struggling start to only handle the task half-way. When the buzzer sounds, your clothes aren’t sopping wet anymore but you wouldn’t exactly call the ‘dryer fresh’ either. Damp clothes are no one’s idea of a fun experience, especially if you have to start your dryer over again or, worse, hang clothes around the house and hope they’re reasonably soft when they finally do dry completely.
If your dryer has been failing to completely dry your clothing, here are the easy troubleshooting steps you can go through before it’s time to call a professional to fiddle with the internal electronics.
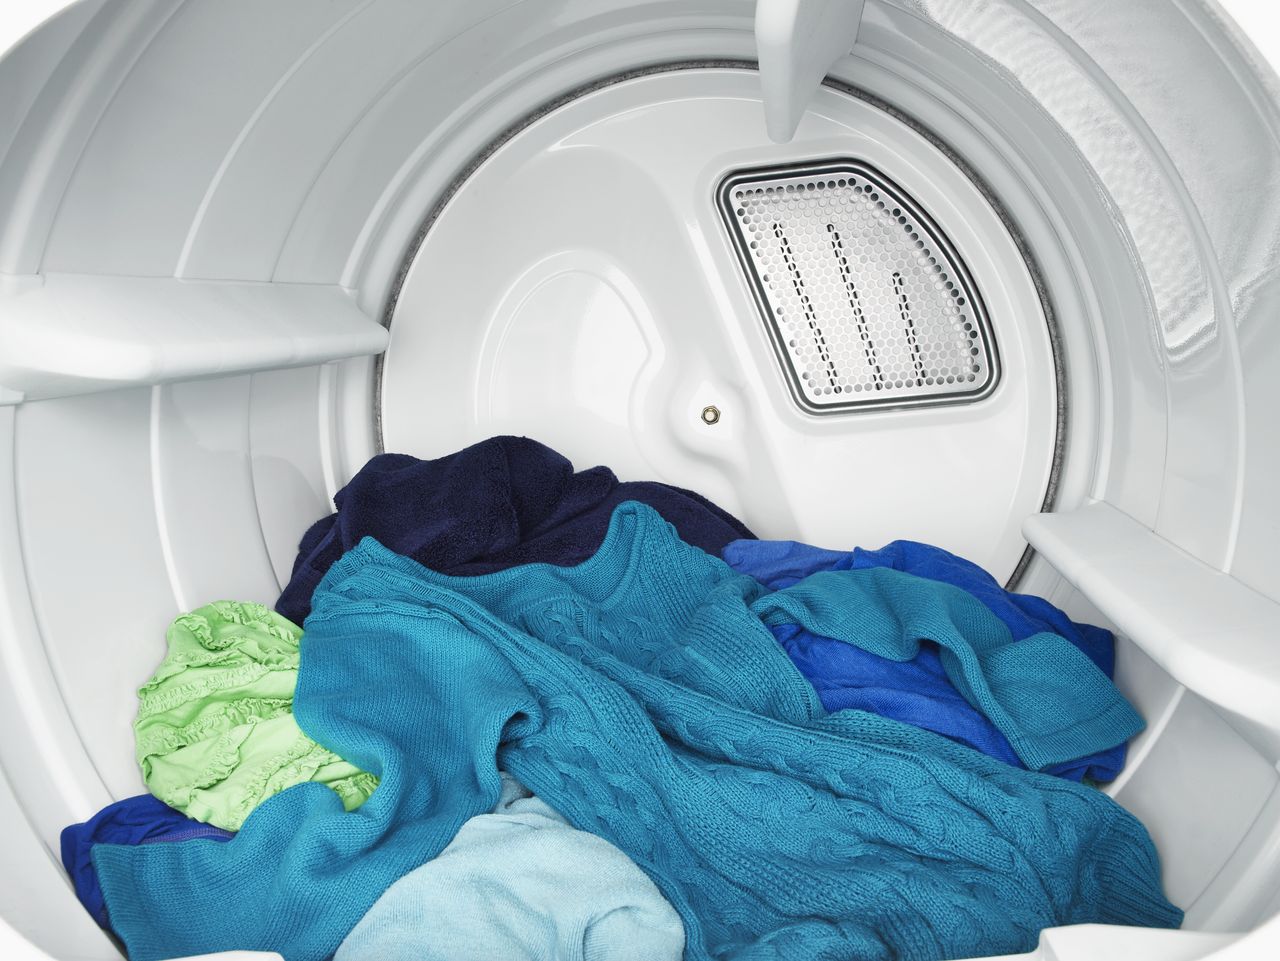
Clear Your Lint Trap
It’s surprising just how many people forget that clearing the lint trap is an absolute necessity. Even if you usually clear the lint trap, it’s also possible that your dryer behavior is the result of someone else using your dryer for something linty like towels and then failing to clear the trap when they’re done.
Almost all dryers have a fully removable lint trap, a layer of wire mesh that collects lint and hair that fluffs off of your clothing. When you pull this trap, don’t just clear the lint from the removable filter. Take a peek inside the slot as well. If this is also packed with lint, you’ll need to clear the chamber as well before your dryer can achieve proper airflow and start drying properly again.
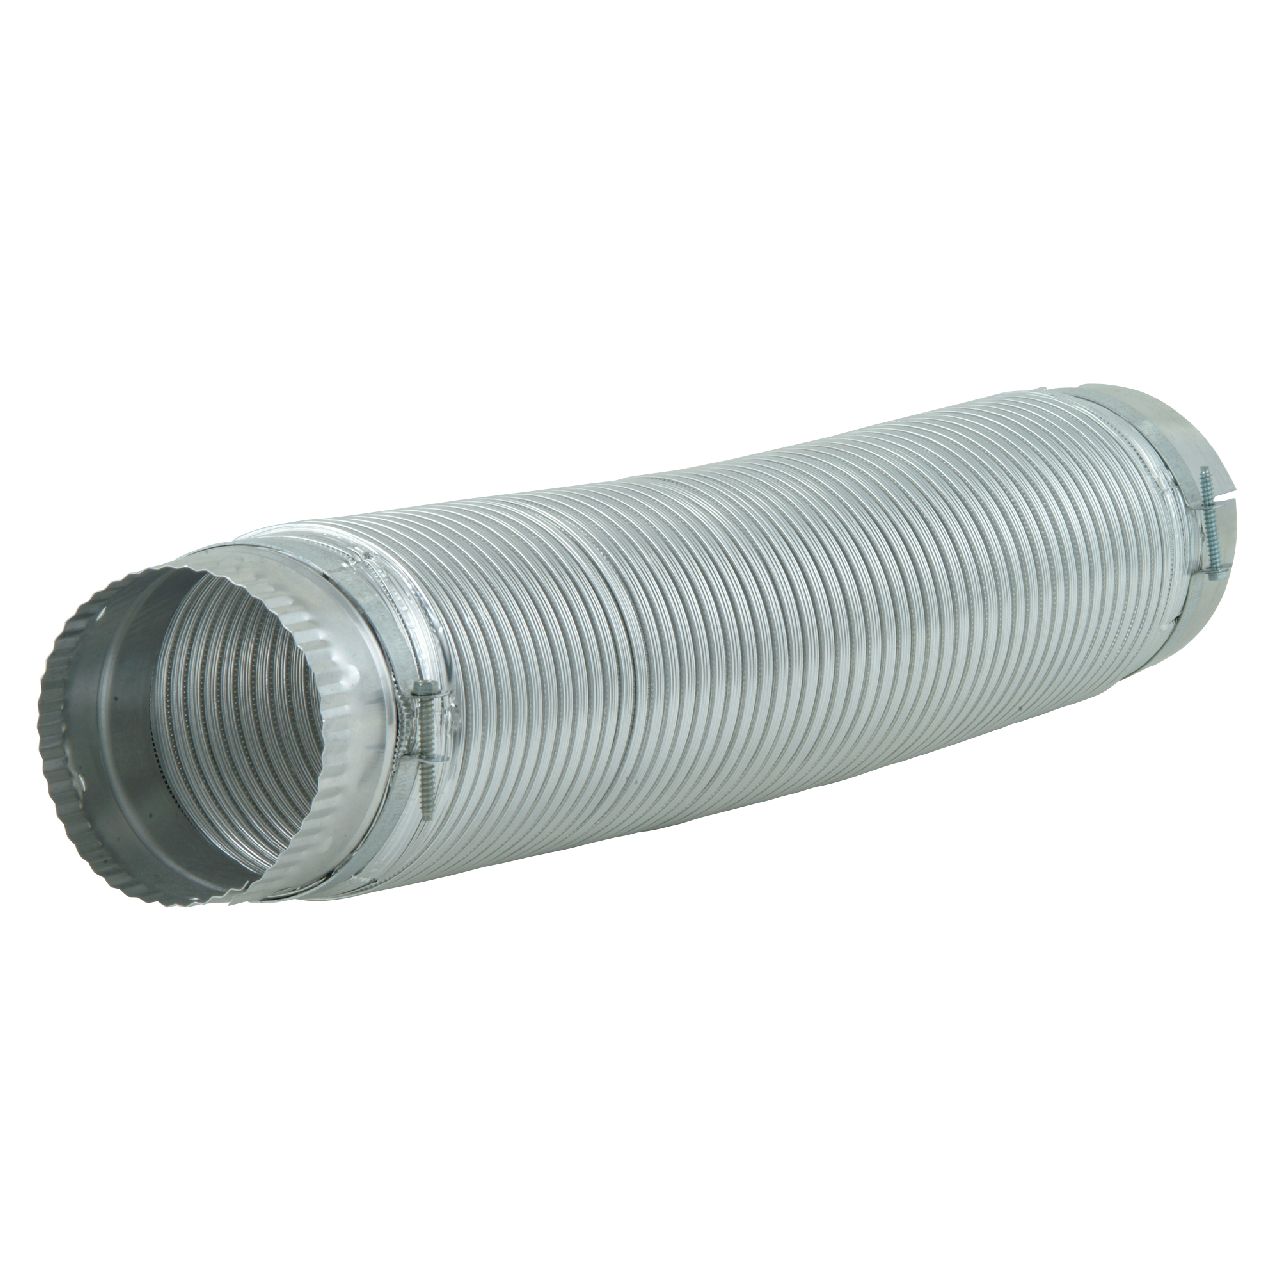
Now Clear the Exhaust Duct
Unfortunately, the lint trap isn’t the only place in your dryer that builds up lint. Airflow is of paramount importance for a modern dryer and all that damp has to go somewhere. Dryers use heat to bring the moisture out of the clothes, then channel the warm, moist air out through the exhaust duct. But if that duct gets clogged, if the air on the other side is too humid, or if lint has clogged the passageway it may become impossible for your dryer to do its job. Removing and checking the exhaust duct is something anyone can do if you can access the back of your dryer. Usually, it is connected by a secure metal ring that you can loosen in order to detach the end of the duct.
Check the inside of the duct and clear it of any lint you can see. Make sure both the aperture on the back of your dryer and the opening in the wall your duct leads to are also unclogged.
Run Smaller Loads
In some cases of insufficient drying, the culprit isn’t the lint trap, the duct, or even the moisture sensor so much as the dryer’s own capacity to dry. If you pack too many wet clothes or towels into a dryer, it won’t be able to dry them all completely. This is especially true with heavier fabrics that have a harder time letting go of their moisture.
Your dryer should never be more than about half-way full. The reason for this is, of course, tumble technology. If the clothes don’t have room to tumble, then they won’t be able to air-dry inside your dryer. If your dryer hasn’t been getting loads completely dry, try reducing the load size and see how it goes.
Professional Repairs
Finally, practical troubleshooting steps still leave you with damp clothes and a dryer that thinks its job is done, chances are that the problem is more electrical than mechanical. Your heating element may be going, or your moisture sensor might not be picking up on the dampness still in the clothing. If this is the case, you’ll want to call an expert. It’s dangerous to tinker with the electricals of a large home appliance, especially one as powerful as your dryer.
For more information about simple appliance repairs you can do at home or to schedule an inspection of your pesky damp dryer, contact us today!
Mar. 09, 2020
How to Replace Your HE Front-Loading Washer Door Lock
Feb. 10, 2020
5 Dryer Duct Tips to Improve Your Clothes Dryer Efficiency
Jan. 06, 2020
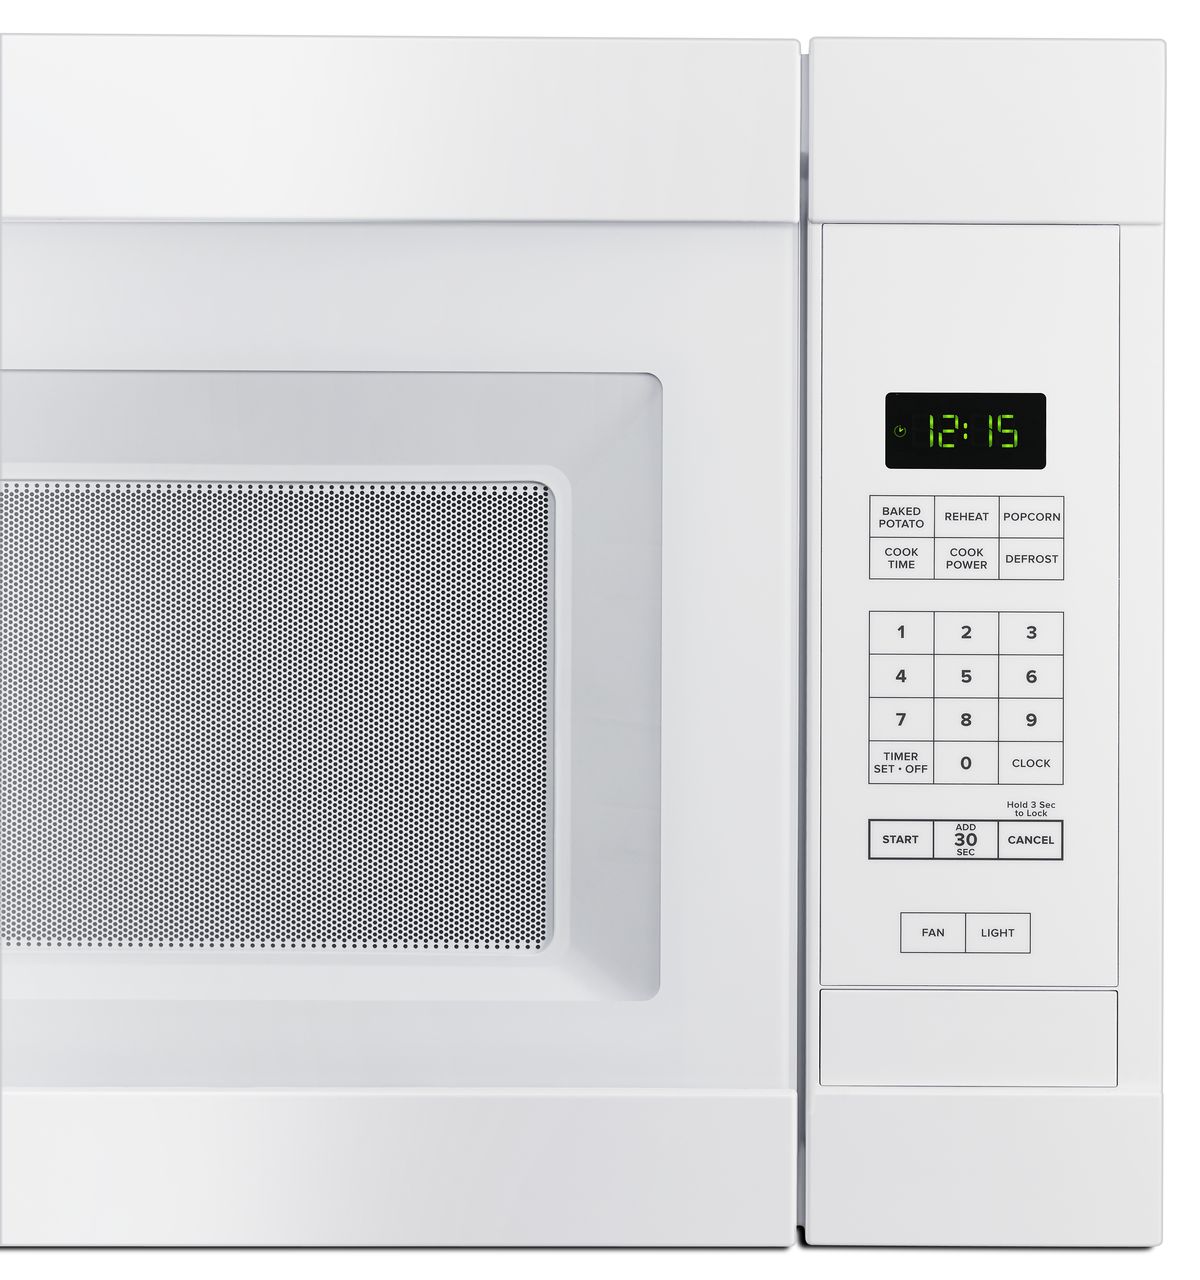
Fixing a Microwave Turntable That Won’t Turn

Dec. 09, 2019
How to Maintain your Refrigerator Gasket Seal
Nov. 11, 2019
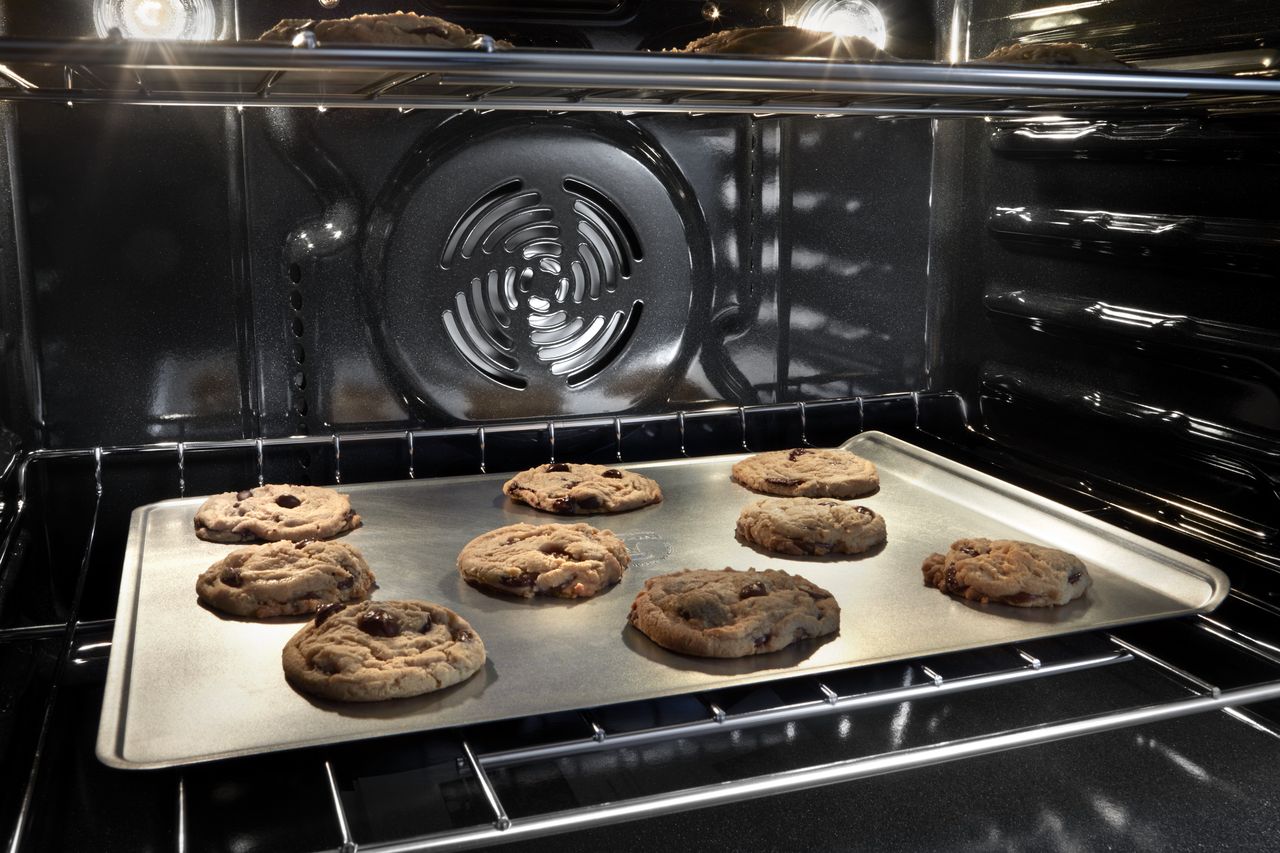
Why Doesn’t My Oven Maintain Temperature?
Oct. 07, 2019
How to Replace the Door Switch of Your Whirlpool Dryer

Sep. 09, 2019
How to Replace Your Freezer-Above-Fridge Door Handle
Aug. 06, 2019
Fixing A Microwave Door That Won’t Close
Jul. 08, 2019
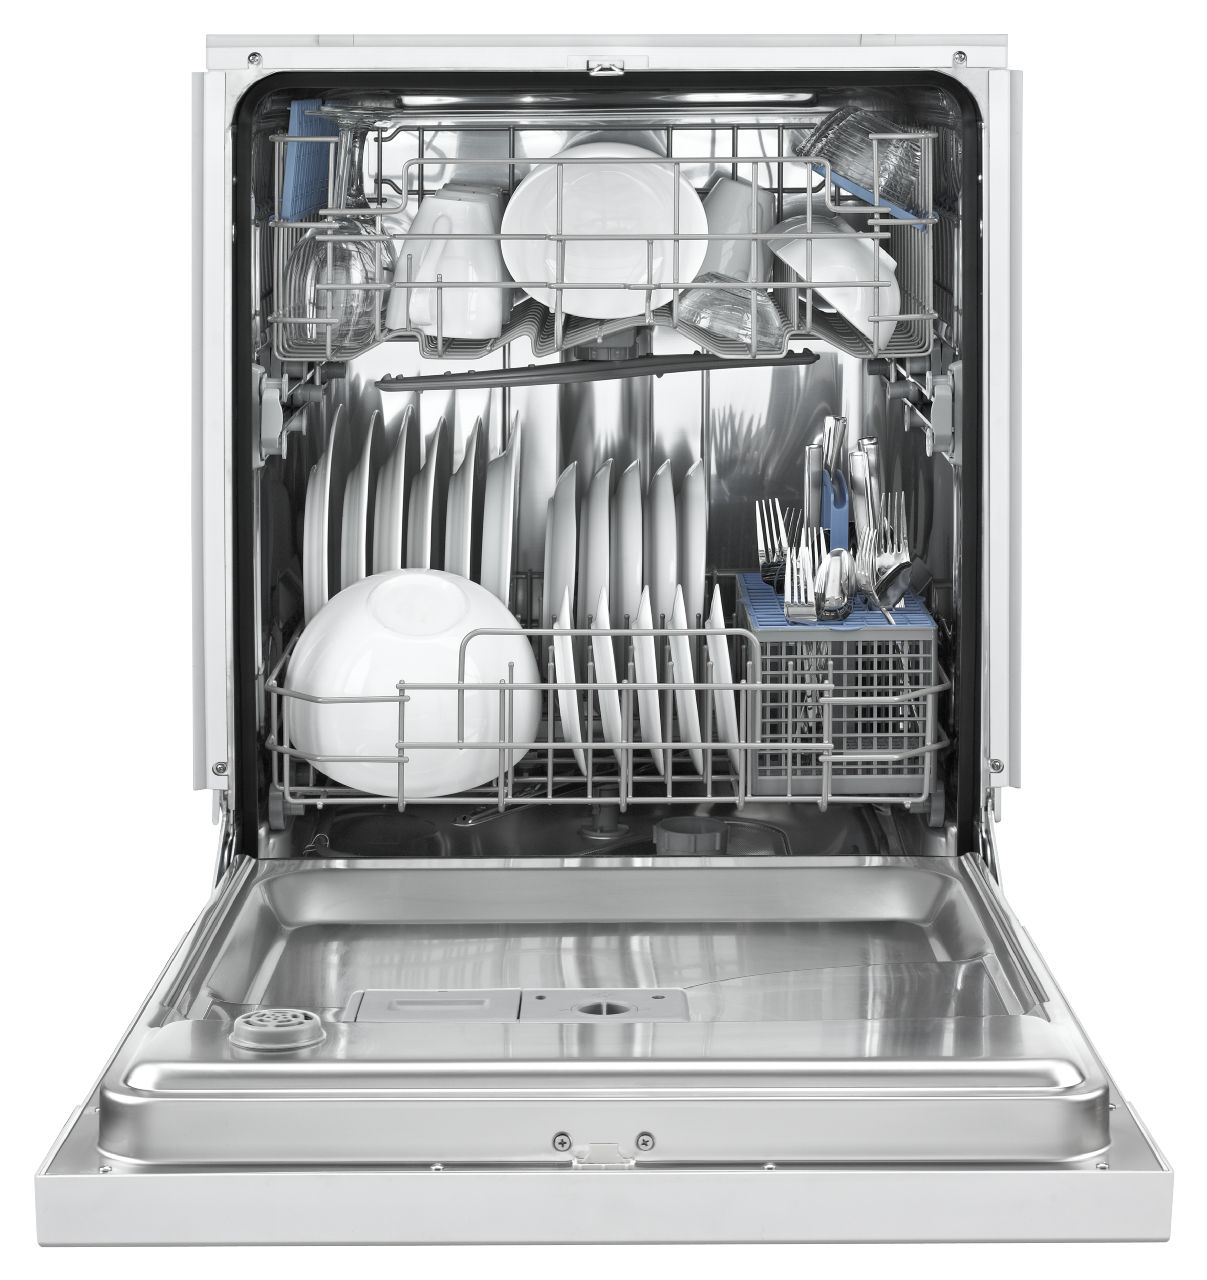
6 Things to Try Before Calling for Dishwasher Repairs
Jun. 08, 2019