

January 21, 2019
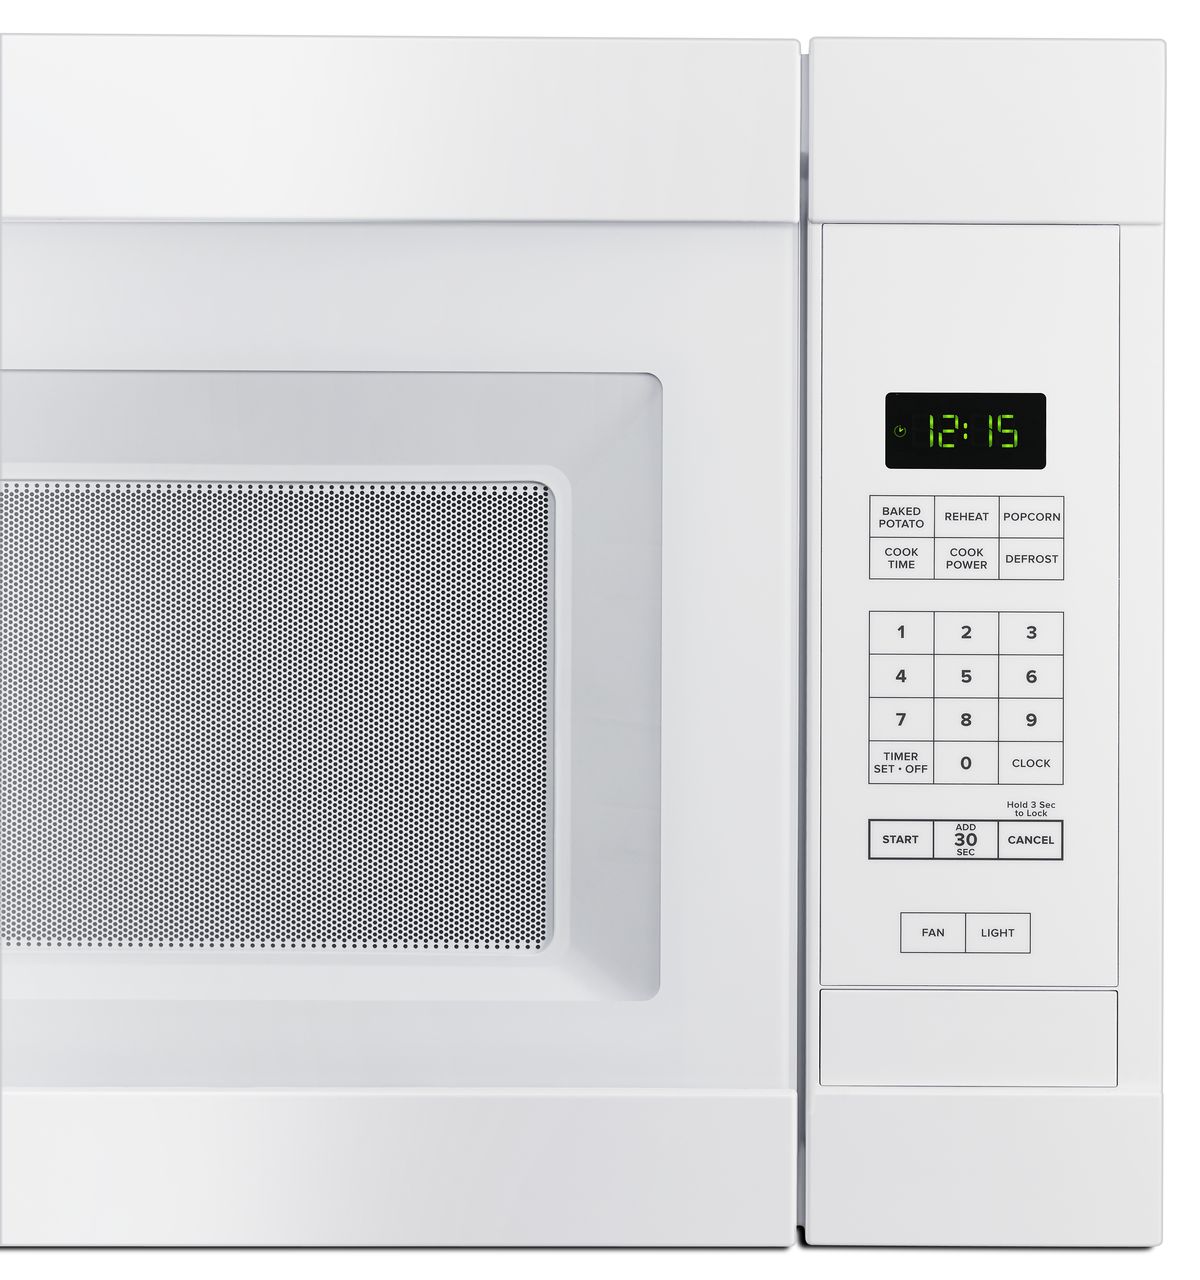
Oven Repair
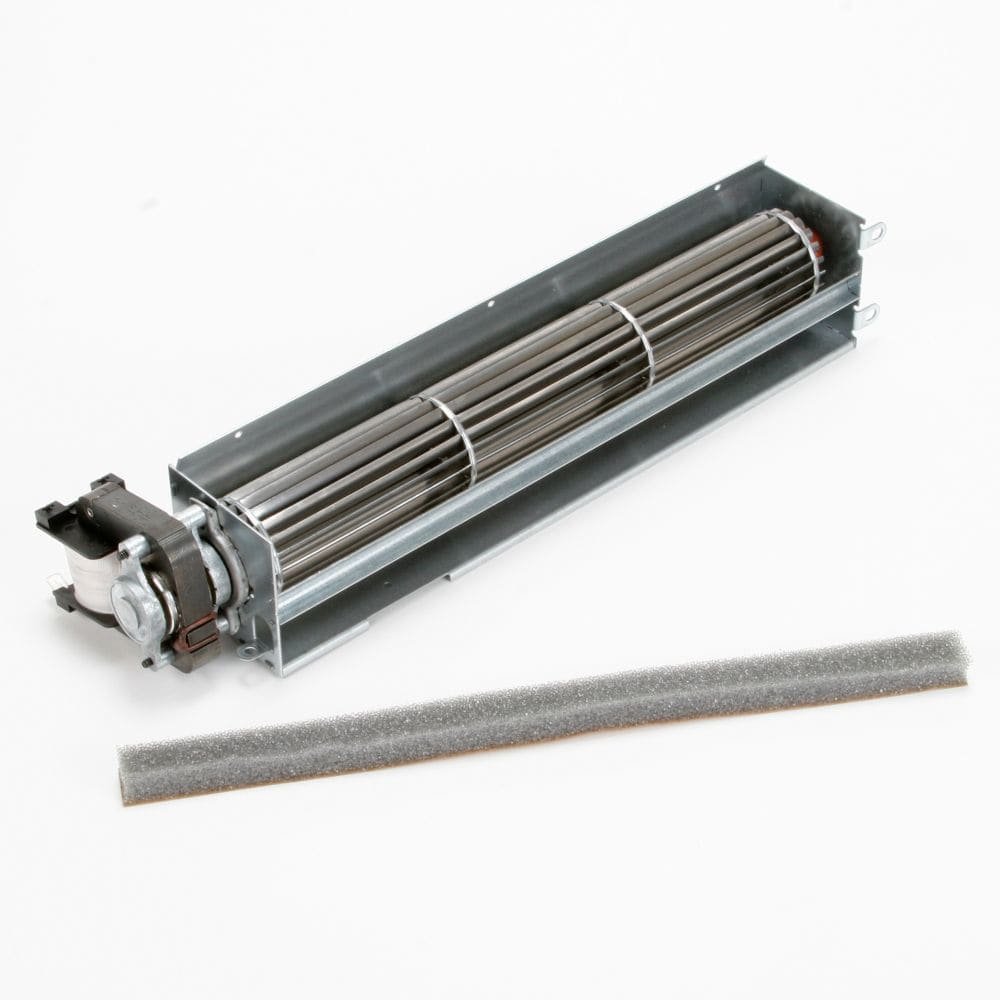
Your oven generates a lot of heat, and that could damage the microwave without enough ventilation. The lower blower assembly in your KitchenAid oven/microwave combo appliance is designed to provide precisely that by blowing out the hot air. If this part breaks or burns out, replace it as soon as possible. Order replacement part number WPW10016550 and follow these steps:
1. Flip the circuit breaker to cut off the power.
Most microwave/oven combo units are wired directly into your home’s power. Because you need to access the internal parts and disconnect the wiring, completely shut off the power first through the circuit breaker.
2. Dismantle the oven.
Pull the unit out and disconnect the wiring so you can access the whole appliance
3. Replace the lower blower assembly.
There are four screws holding the blower in place: one at the bottom of the right end, two at the bottom of the left end, and one partially behind the left end. Remove all four screws.
Carefully peel the insulation away from the old blower and unscrew the duct. Transfer these parts over to the new part. Make sure the insulation lays flat and adheres to the bottom of the blower assembly
4. Reassemble the oven/microwave combination unit.
Start by reattaching the upper access panel to the rear of the oven. Hold it in place as you add back the three screws to the back of the panel. Then retighten the screws holding the edges in place on the left and right side of the oven
After that, slide the oven unit into the combination frame. You may want to have a second person help lift the back edge as you push it into place. Resecure the oven to the frame with the two screws you removed earlier
Mar. 09, 2020
How to Replace Your HE Front-Loading Washer Door Lock
Feb. 10, 2020
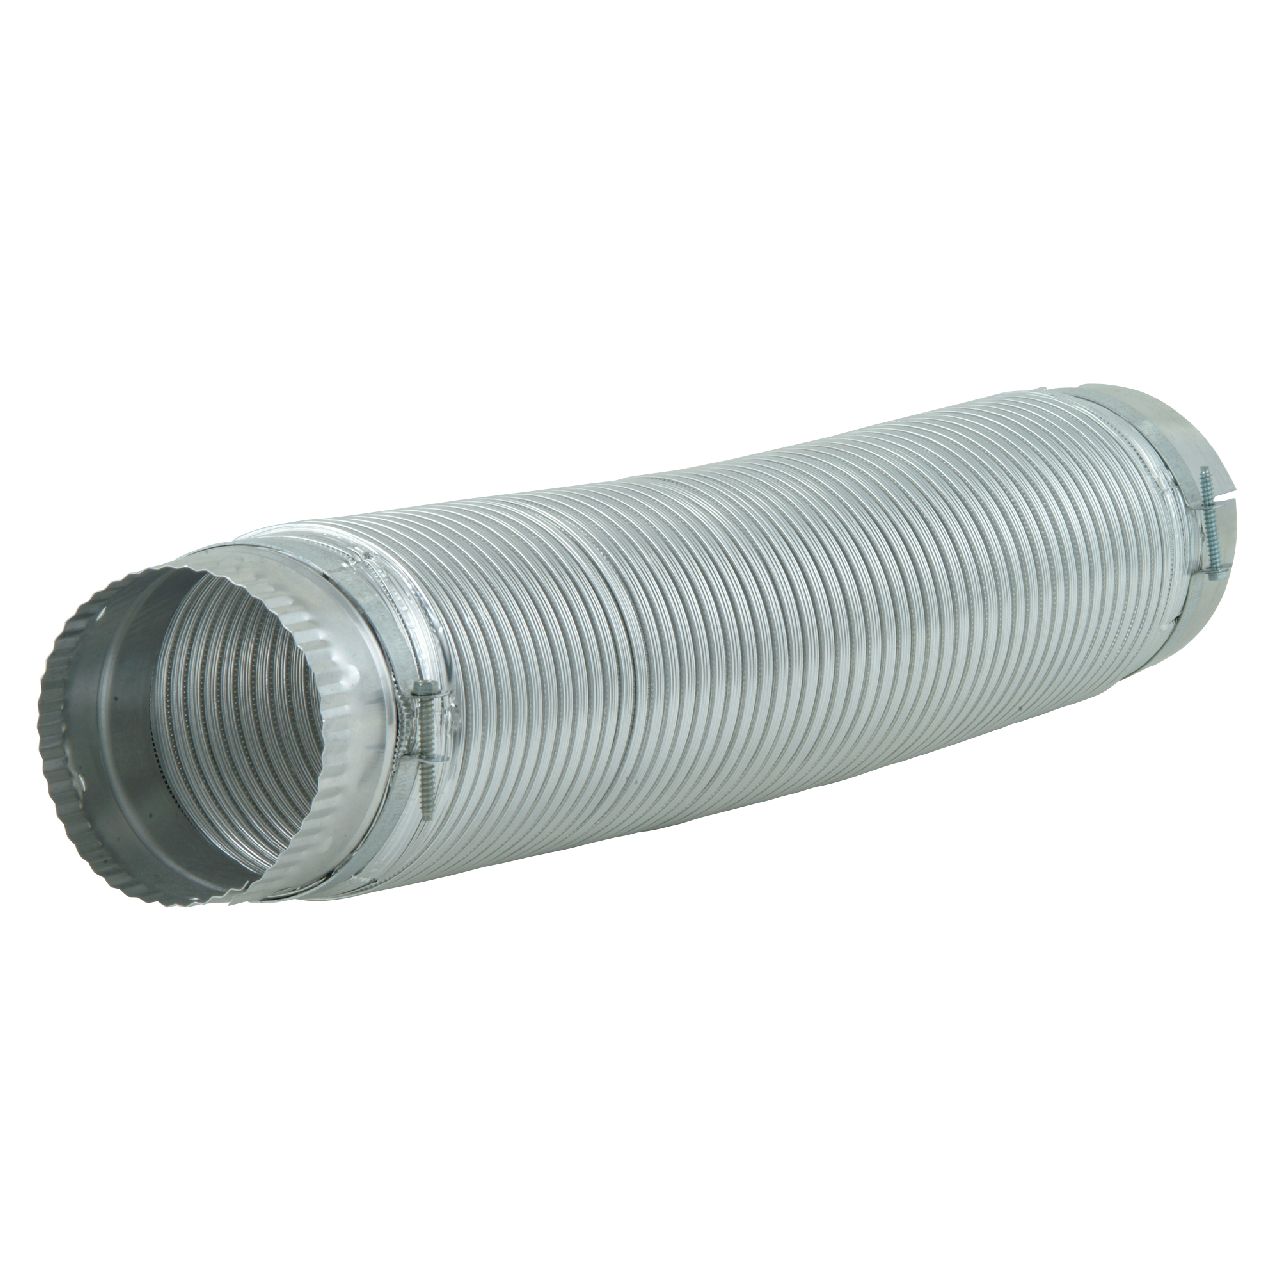
5 Dryer Duct Tips to Improve Your Clothes Dryer Efficiency
Jan. 06, 2020
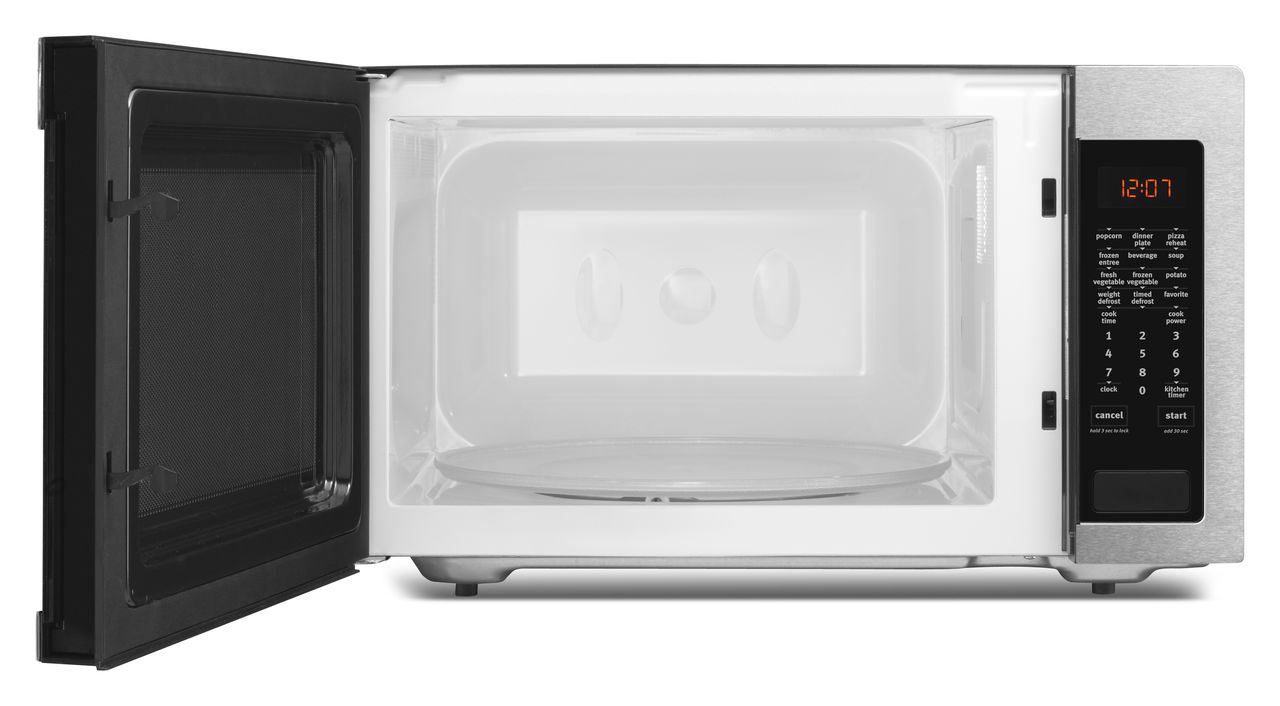
Fixing a Microwave Turntable That Won’t Turn
Dec. 09, 2019
How to Maintain your Refrigerator Gasket Seal
Nov. 11, 2019
Why Doesn’t My Oven Maintain Temperature?
Oct. 07, 2019
How to Replace the Door Switch of Your Whirlpool Dryer
Sep. 09, 2019
How to Replace Your Freezer-Above-Fridge Door Handle
Aug. 06, 2019
Fixing A Microwave Door That Won’t Close
Jul. 08, 2019
6 Things to Try Before Calling for Dishwasher Repairs
Jun. 08, 2019