

February 11, 2019
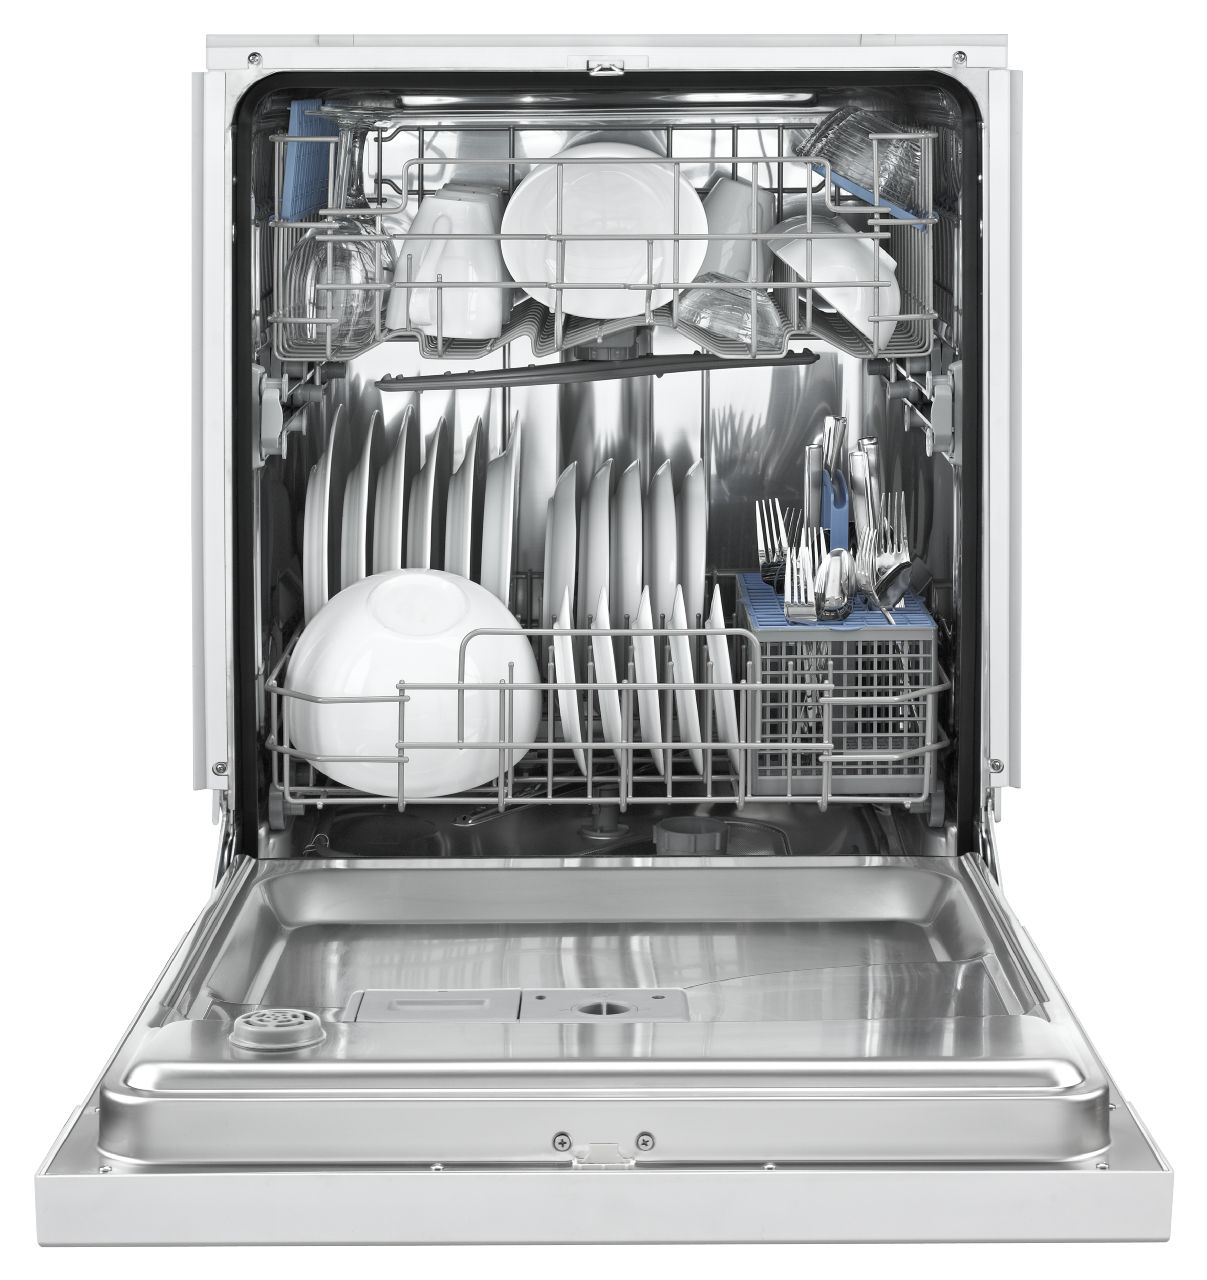
Dishwasher Repair
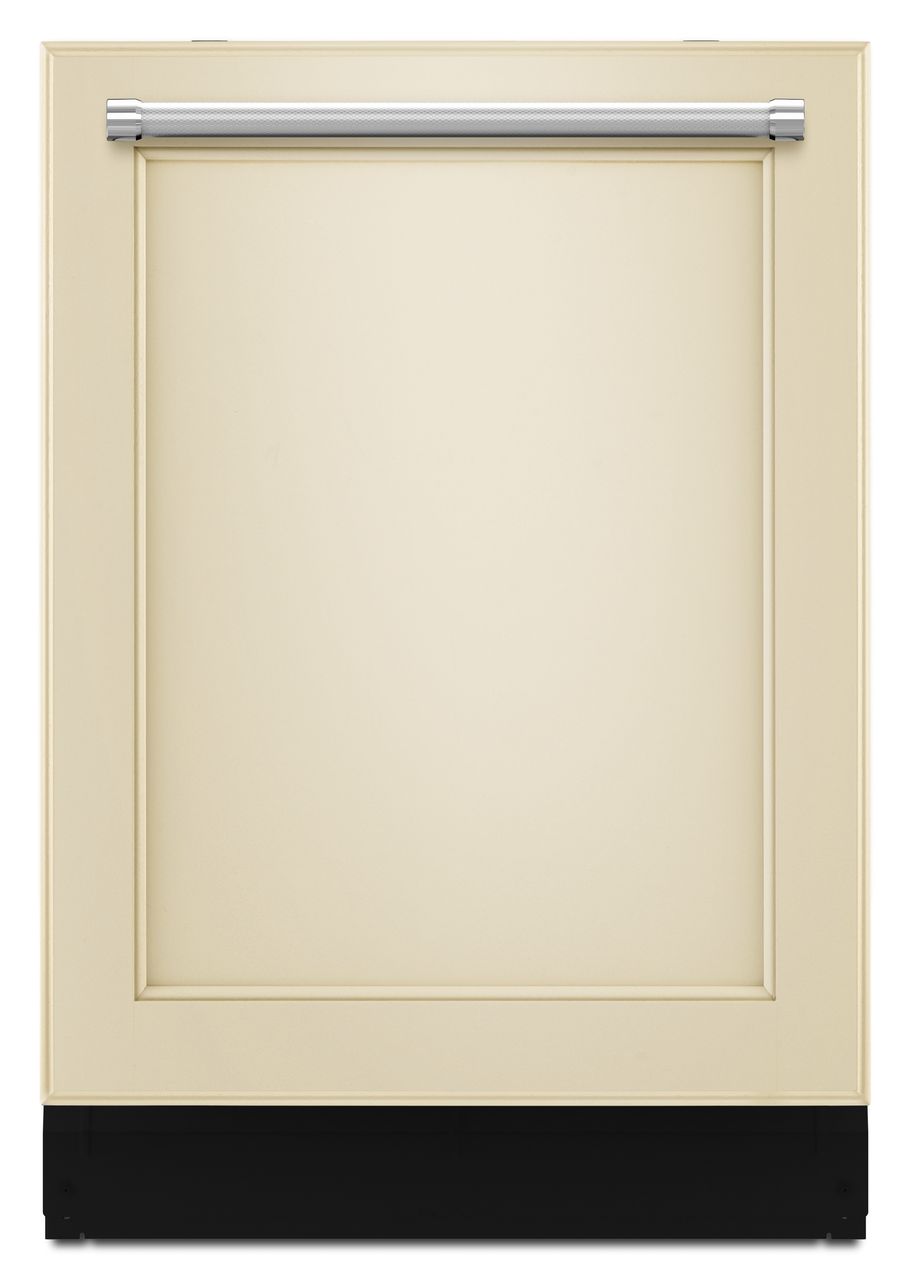
Decorative panels can make your dishwasher fit seamlessly with your kitchen’s style. If you want your kitchen to have that custom feel, you can add the paneling yourself to matching KitchenAid models. This is only available for specific model numbers. Order a custom panel kit (for model #KDTE204EPA) and
1. Partially uninstall the dishwasher.
If you’re adding the panel to a new dishwasher, skip this step. If you’re working with a currently installed dishwasher, turn off the water connection and detach the supply line.
2. Install the handle.
First, position the handle along the seam of the decorative paneling or approximately three inches from the top of the panel. Make sure the handle is centered and mark its position. Next, drill the left and right holes for the screws. Drill through both sides to remove any splinters so the screws can be flush with the panel. Drive the screws through the front or back of the panel according to the handle’s design. Then attach the handle and fully secure it with the screws.
3. Prepare the panel and door for installation.
First, turn the panel over and tape the provided template on the back of the panel. Make it flush with the top edge rather than the bottom.Add four pilot holes and drill them 5/8″ deep. Next, screw in the plastic studs and metal screws to hold them in place.Orient the double-sided tape with the keyholes in the door of the dishwasher. Check the positioning before you remove the wax backing. Once you confirm everything aligns, remove the backing on each piece and stick it onto the door. This provides cushioning between the panel and the metal.
4. Install the panel.
Next, slide the four studs on the back of the panel into the tops of the keyholes and carefully lower the panel into position. Push it down until the top of the panel aligns with the top of the door. Once you’re certain the panel is positioned appropriately, you can add the final screws that will hold it in place. To do this, open the door. Remove the screws in the top corners and the screws second from the bottom on the left and right side. Drill into the screw holes through the dishwasher door and into the panel. Consult your specific manual for the exact depth you should drill before you start. Then insert the same depth screw into each elongated hole. The screws will grab onto the door and panel to hold it in place.
5. Install the dishwasher.
Whether you’re adding the panel to your current dishwasher or this is a new appliance, the steps are the same. Feed the water supply lines and the power cord through the hole in the side of your cabinet and into the cabinet under the sink. Push the dishwasher partially under the countertop and pull more of the supp
Go to the cabinet under the sink. Reattach the water supply line. Also reclamp the drain line to the garbage disposal. Then plug in the power cord.If you want to do more DIY appliance repair, go to Appliance Tec for more resources. We also have appliance repair technicians standing by.
Mar. 09, 2020
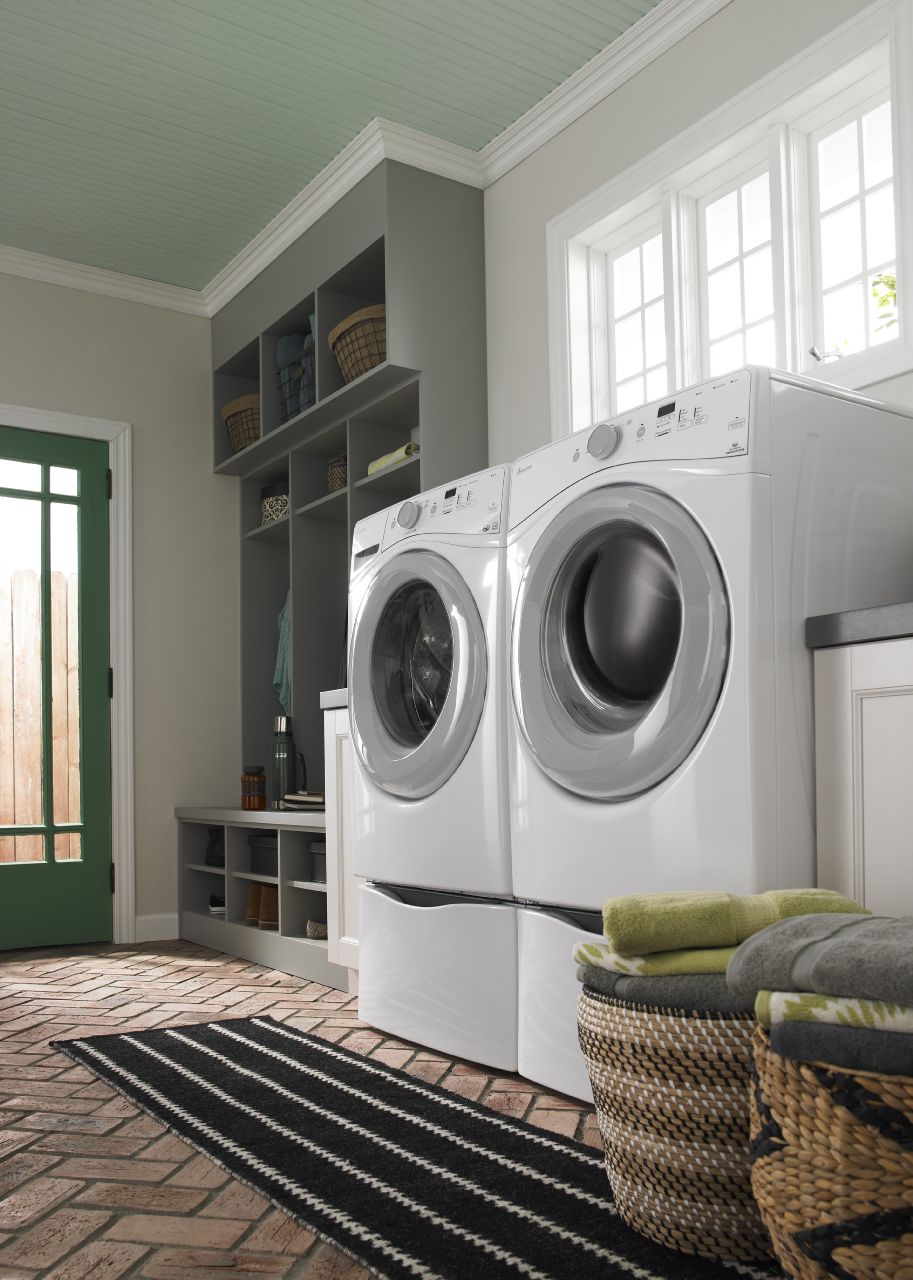
How to Replace Your HE Front-Loading Washer Door Lock
Feb. 10, 2020
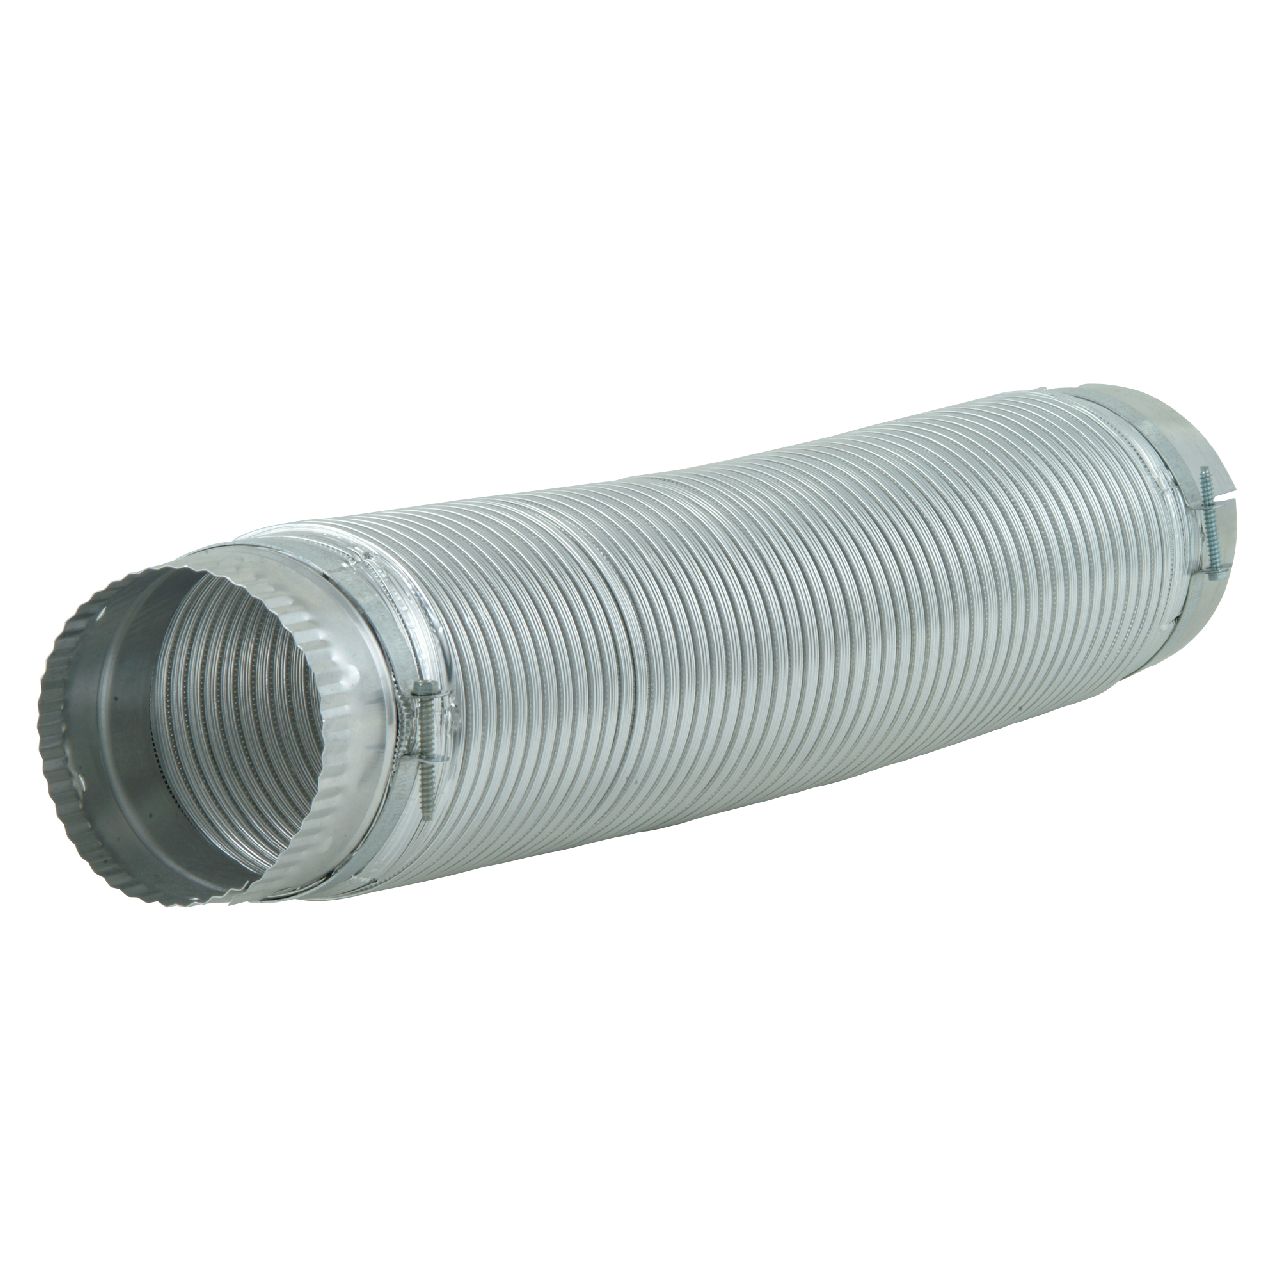
5 Dryer Duct Tips to Improve Your Clothes Dryer Efficiency
Jan. 06, 2020
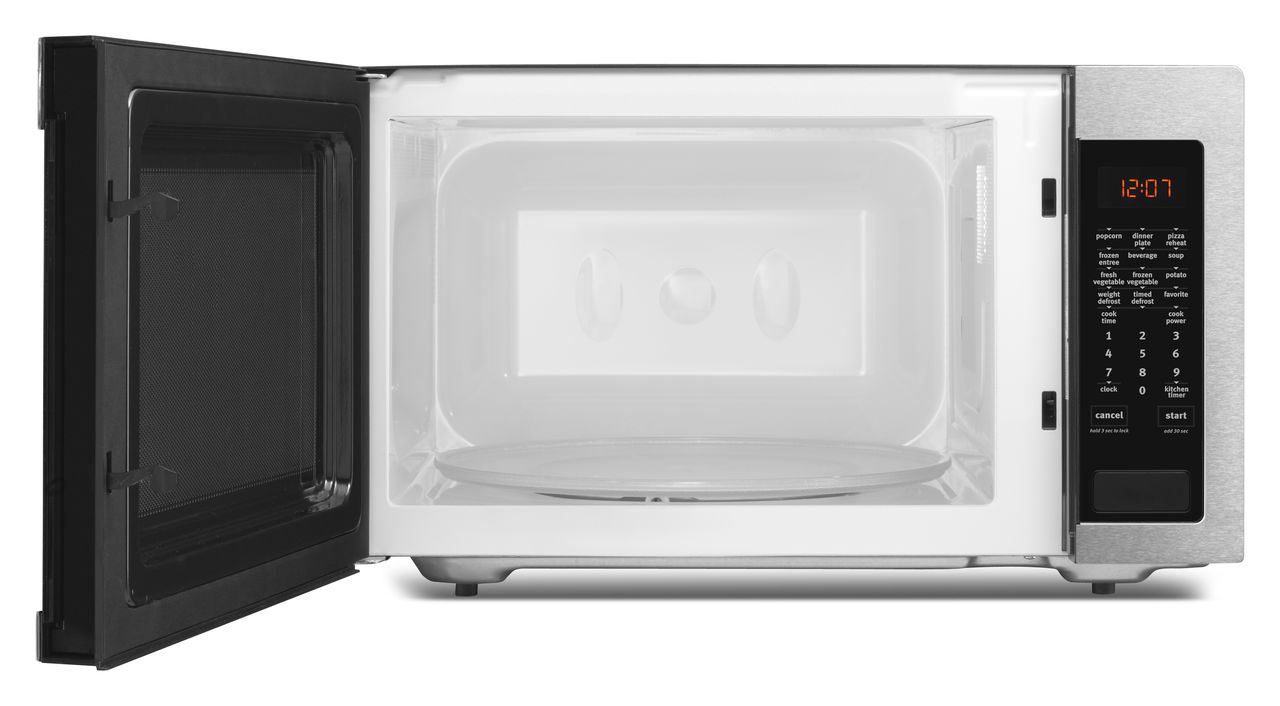
Fixing a Microwave Turntable That Won’t Turn
Dec. 09, 2019
How to Maintain your Refrigerator Gasket Seal
Nov. 11, 2019
Why Doesn’t My Oven Maintain Temperature?
Oct. 07, 2019
How to Replace the Door Switch of Your Whirlpool Dryer
Sep. 09, 2019
How to Replace Your Freezer-Above-Fridge Door Handle
Aug. 06, 2019
Fixing A Microwave Door That Won’t Close
Jul. 08, 2019
6 Things to Try Before Calling for Dishwasher Repairs
Jun. 08, 2019